Mini Pavlovas Recipe
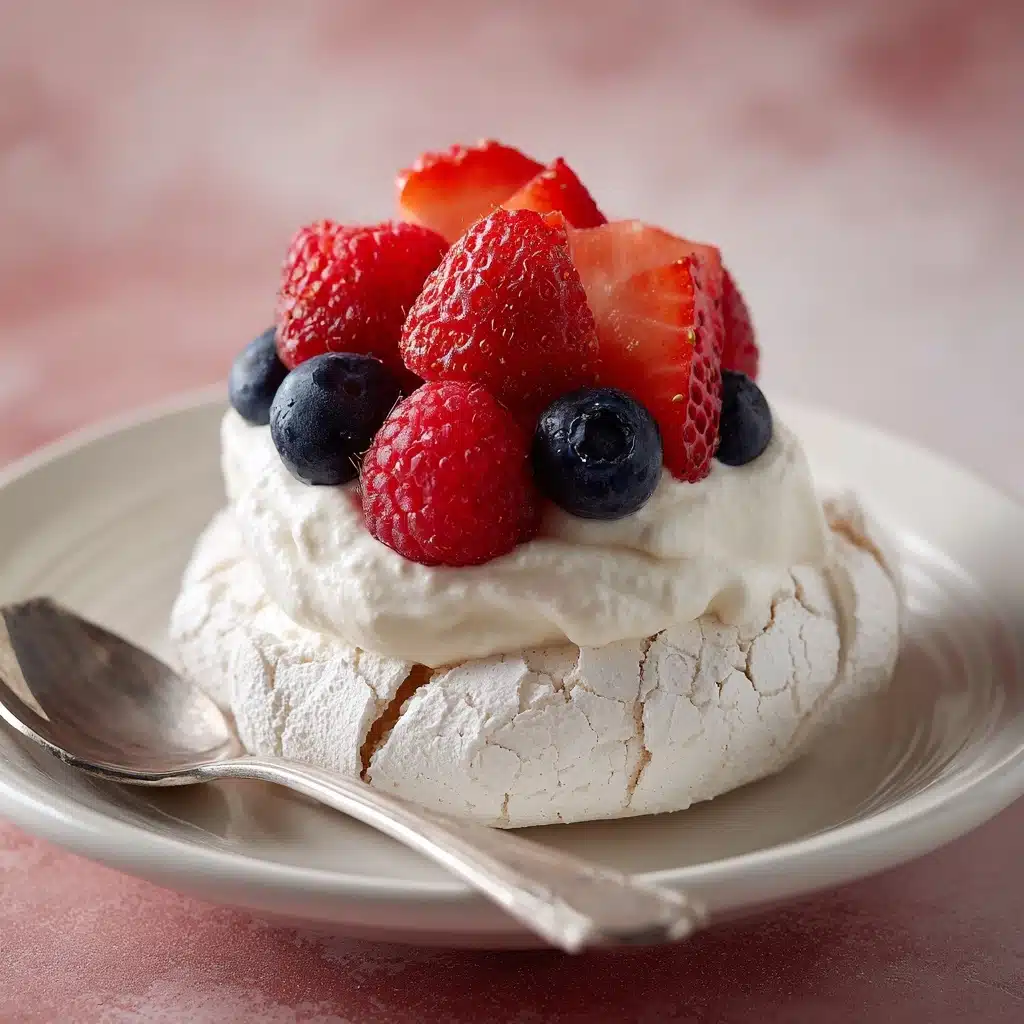
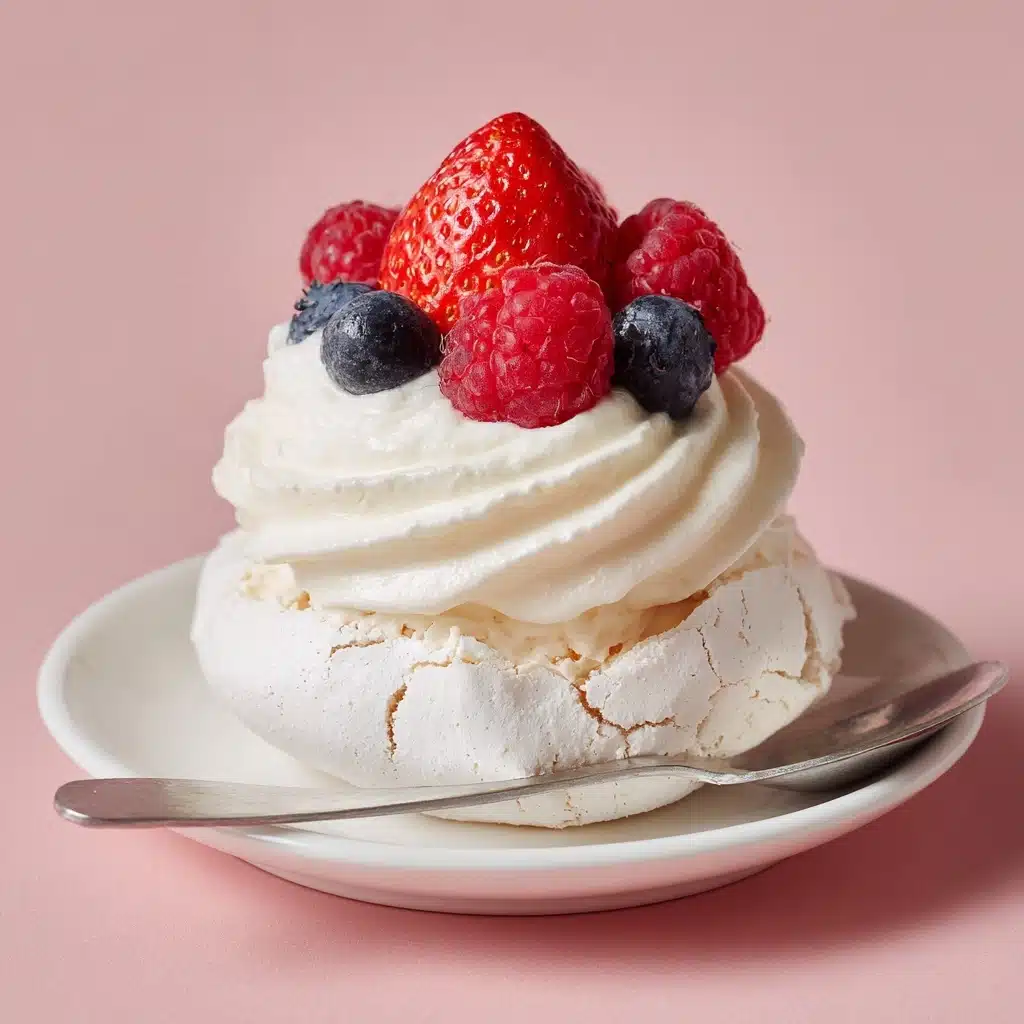
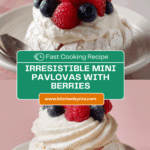
If you’re searching for a show-stopping dessert that’s as delightful as it is beautiful, Mini Pavlovas are the answer. These personal-sized clouds of meringue are crisp on the outside, marshmallowy within, and topped with lush whipped cream and a cascade of fresh berries. Mini Pavlovas transform any gathering into a celebration, turning simple pantry staples into a dessert that looks straight out of a pastry shop and tastes even better. Whether you’re hosting a dinner party or just treating your family on a weeknight, you’ll find these treats always impress and disappear quickly!
Ingredients You’ll Need
The magic of Mini Pavlovas lies in transforming a handful of everyday ingredients into something spectacular. Each component plays a crucial part, from fluffy egg whites forming the base, to bold, juicy berries creating a vibrant finish.
- 4 large egg whites, room temperature: Room-temp egg whites whip up best, helping you achieve that coveted lightness and structure for beautiful meringues.
- 200 grams (1 cup) caster sugar or granulated sugar: Fine sugar dissolves smoothly, giving the meringue a glossy finish and signature crackle.
- 480 ml (2 cups) whipped cream: Soft, billowy whipped cream turns each Mini Pavlova into a dreamy, melt-in-your-mouth experience.
- 250 grams (2 cups) fresh berries*: Choose a colorful mix of berries—like strawberries, raspberries, and blueberries—for both tart contrast and eye-catching appeal.
How to Make Mini Pavlovas
Step 1: Prep Your Oven and Baking Tray
Begin by lining a large baking tray with baking or parchment paper—this is essential for easy removal. Preheat your oven to 150°C (300°F), so it’s ready for your meringue masterpieces, and let the egg whites come to room temperature if you haven’t already. This step ensures your meringues will lift tall and proud.
Step 2: Whip Egg Whites to Froth
Place the egg whites into a large mixing bowl or the bowl of a stand mixer. Using an electric mixer on low speed, beat the egg whites for a minute or two. Watch as they turn frothy—a satisfying start to beautiful Mini Pavlovas!
Step 3: Add Sugar Slowly to Achieve Glossy Meringue
Once the egg whites reach soft peaks, start adding your sugar one tablespoon at a time, allowing it to fully dissolve between additions. This gradual process is key to achieving a thick, glossy meringue that almost triples in volume. Take your time—the shine is worth it!
Step 4: Check for Stiff Peaks
When the meringue holds its shape and forms stiff peaks, stop beating. The meringue should be glossy and ethereal. As a final check, rub a small bit between your fingers; it should feel smooth, not gritty. If you sense grains of sugar, whip a bit longer.
Step 5: Shape and Form Your Meringues
Using two spoons, drop heaped scoops (about 3 tablespoons per pavlova) onto your lined tray, leaving space in between. Shape each heap into a round nest and use the back of a spoon to make a gentle crater in the center. This is where your whipped cream and berries will sit later, so don’t skip this little divot!
Step 6: Bake and Cool Slowly
Bake the meringues for 30 minutes—don’t wander too far, as the delicate balance of heat creates that iconic crisp shell. Then, turn the oven off and let the meringues sit inside for 2 to 3 hours. The residual warmth helps them cool slowly, minimizing cracks and ensuring the centers stay pillowy.
Step 7: Decorate and Serve
When you’re ready to dazzle, top each Mini Pavlova with a generous cloud of whipped cream and finish with a tumble of berries. Serve immediately to keep the contrast of crunch and cream in perfect harmony.
How to Serve Mini Pavlovas
Garnishes
Top your Mini Pavlovas with a flourish by adding mint leaves, a dusting of powdered sugar, or a drizzle of passionfruit pulp. The tiny details—like zest from a lemon or orange—bring out bright, fresh flavors and provide a wonderful visual pop.
Side Dishes
Serve alongside a bowl of extra mixed berries or a tangy fruit compote to double down on the fresh, tart notes. For something more indulgent, a scoop of vanilla bean ice cream is a dreamy companion.
Creative Ways to Present
Turn dessert into a DIY event by setting up a Mini Pavlova bar! Place meringues, an array of whipped creams (think vanilla, chocolate, or honey), and assorted toppings out for guests to mix and match. It’s interactive, customizable, and makes any occasion even more memorable.
Make Ahead and Storage
Storing Leftovers
If you have extra Mini Pavlovas (a rare scenario!), store the unfilled meringue bases in an airtight container at room temperature for up to three days. Keep creams and fruit separate for best texture.
Freezing
Meringue bases freeze surprisingly well—wrap them individually in plastic wrap, then place in an airtight container or freezer bag. Freeze for up to a month, and defrost at room temperature when you’re ready to use. Avoid freezing once they’ve been topped with cream or fruit.
Reheating
Mini Pavlovas are best enjoyed at room temperature, so reheating isn’t necessary. If your meringues have softened from humidity, a quick pop in a low oven (100°C or 210°F) for 10 minutes can revive their crisp shell.
FAQs
Why did my Mini Pavlovas crack?
Meringues can crack if they cool too quickly or if the sugar wasn’t fully dissolved. Make sure to cool them in the turned-off oven and add sugar gradually for the most stable result.
Can I use other fruits besides berries?
Absolutely! Sliced kiwi, passionfruit, or mango complement the sweet, airy base of Mini Pavlovas beautifully. Use whatever fruit is in season for the freshest flavor.
How do I know my meringue is whipped enough?
Perfect meringue should be glossy and form stiff peaks that hold their shape when you lift the beaters. If it looks matte or runny, keep beating a little longer!
Can Mini Pavlovas be made in advance?
You can make the meringue shells a day or two ahead and store them in an airtight container. Just add the cream and berries right before serving for the best texture.
What’s the best way to transport Mini Pavlovas?
Keep the meringue bases and toppings separate until you arrive at your destination. Transport meringues gently in a sturdy container, then assemble just before serving for a picture-perfect finish.
Final Thoughts
Bring a bit of magic to your table with Mini Pavlovas—the perfect balance of crunchy, chewy, creamy, and fresh. No matter your baking skill level, this recipe invites you to create and share something truly special. I can’t wait for you and your loved ones to swoon over every bite!
PrintMini Pavlovas Recipe
Learn to make delightful Mini Pavlovas – crisp meringue nests topped with whipped cream and fresh berries. These individual desserts are a perfect balance of sweetness and freshness, ideal for any occasion.
- Prep Time: 20 minutes
- Cook Time: 30 minutes
- Total Time: 3 hours
- Yield: 8 mini pavlovas 1x
- Category: Dessert
- Method: Baking
- Cuisine: International
- Diet: Vegetarian
Ingredients
Meringues:
- 4 large egg whites, room temperature
- 200 grams (1 cup) caster sugar or granulated sugar
Toppings:
- 480 ml (2 cups) whipped cream
- 250 grams (2 cups) fresh berries*
Instructions
- Prepare the Meringues: Line a large baking tray with parchment paper and preheat the oven to 150°C (300°F).
- Whip the Egg Whites: In a mixing bowl, beat egg whites until frothy, then gradually add sugar until stiff peaks form.
- Form Meringue Nests: Spoon meringue onto trays, create small craters, and bake for 30 minutes. Let cool in the oven.
- Assemble: Top meringues with whipped cream and fresh berries before serving.
Notes
- Ensure egg whites are free of any yolks for best results.
- Experiment with different berry combinations for varied flavors.
Nutrition
- Serving Size: 1 mini pavlova
- Calories: 220
- Sugar: 18g
- Sodium: 40mg
- Fat: 12g
- Saturated Fat: 7g
- Unsaturated Fat: 3g
- Trans Fat: 0g
- Carbohydrates: 25g
- Fiber: 1g
- Protein: 2g
- Cholesterol: 35mg
Keywords: Mini Pavlovas, Meringues, Dessert Recipe, Whipped Cream, Fresh Berries
