Artisan Bread Recipe
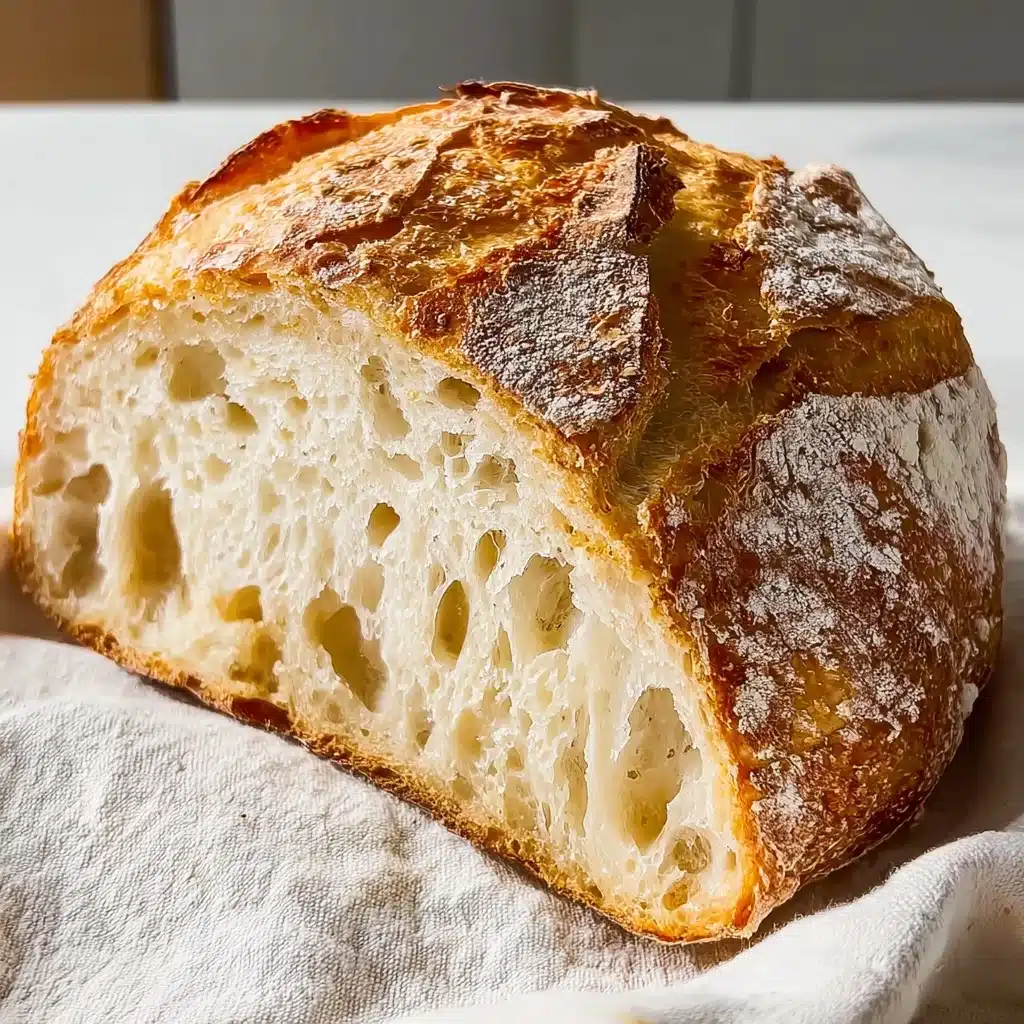
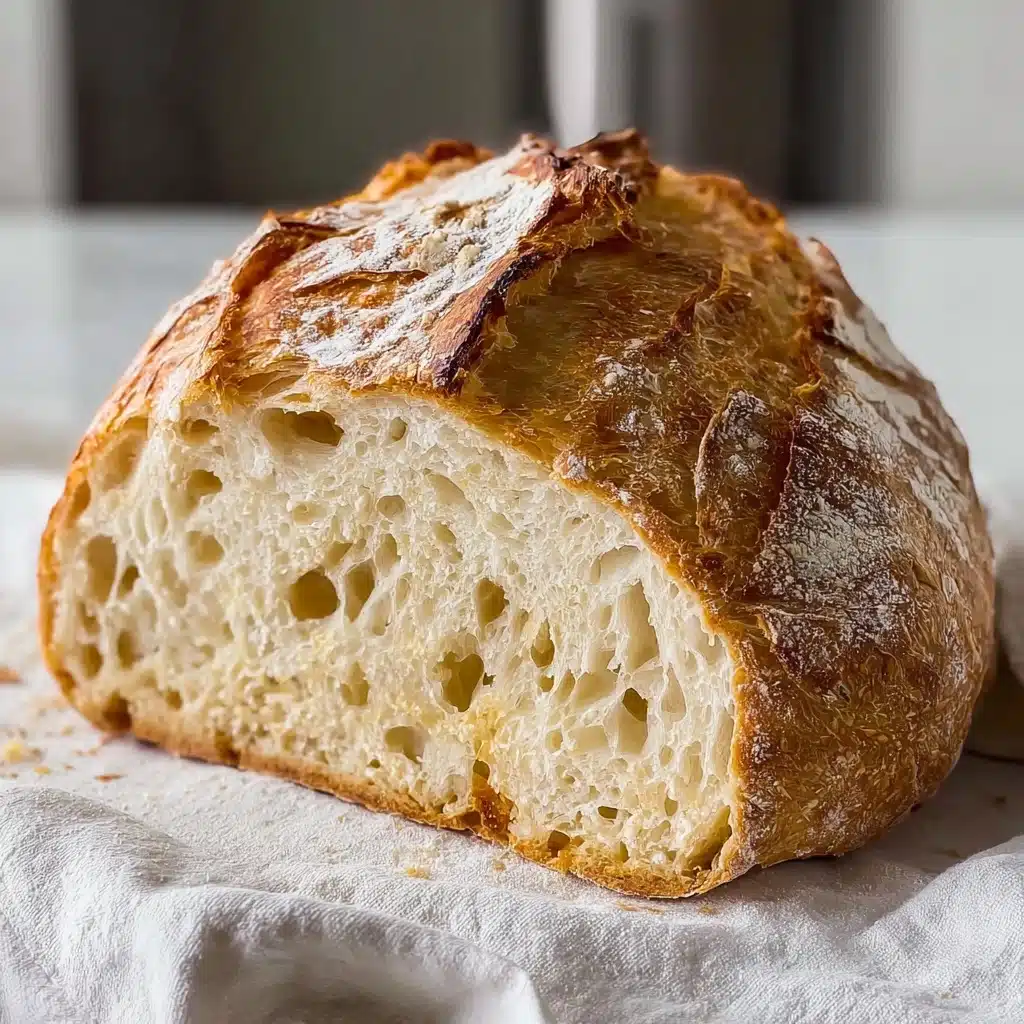
Few things in life are as satisfying or deeply comforting as baking your own bread, and this Artisan Bread Recipe is your ticket to that irresistible, bakery-level magic at home. Picture a golden, crackly crust, an open, chewy crumb, and that warm aroma that fills your kitchen and calls everyone to the table. Whether you’re a bread beginner or a seasoned baker, this method nails all the hallmarks of great artisan bread without intimidating techniques or fussy ingredients. If you love simple, soulful food, this loaf will quickly become a staple in your home-baking rotation.
Ingredients You’ll Need
The best part about this Artisan Bread Recipe is how it transforms humble, everyday ingredients into something extraordinary. Each item here matters, lending its own special touch to the finished loaf—flavor, texture, structure, and even aroma. Let’s walk through them:
- All-purpose or bread flour: Flour is the backbone, and either type works; bread flour gives more chew, while all-purpose makes for a gentler crumb.
- Kosher salt: Don’t skip this—it deepens all the flavors and helps tighten the dough’s texture.
- Instant or active dry yeast: Just the right amount wakes up the dough for that beautiful rise and airiness.
- Warm water (105°F): The gentle warmth wakes the yeast and pulls everything into a supple, shaggy dough.
How to Make Artisan Bread Recipe
Step 1: Mix Dry Ingredients
Start by grabbing a large bowl and mixing together your flour, salt, and yeast. Give it a few stirs to blend everything evenly—this ensures your yeast is nicely distributed, which makes for a fantastic, even rise later on in the process.
Step 2: Add Warm Water
Pour the warm water directly over your dry ingredients. Use a wooden spoon, dough whisk, or even just your hand to mix it all together. The dough will be a bit sticky and shaggy—that’s exactly right! This loose texture helps form those lovely air bubbles artisan bread is famous for.
Step 3: First Rise
Cover the bowl with a kitchen towel or some plastic wrap and let the dough rest at room temperature. Anywhere from 2 to 10 hours works, but for the deepest flavor, let it go overnight. This slow rise is the magic step that builds the bread’s distinctive taste and texture.
Step 4: Shape the Dough
Wet your hands to prevent sticking and gently turn the dough onto a lightly floured surface. Fold the edges gently into the center to form a round loaf—never knead or manhandle it! For smaller loaves, divide the dough and tuck the ends underneath so each loaf is plump.
Step 5: Final Rest & Score
Place your shaped dough on a piece of parchment paper, dust it with a bit of flour, and use a bread knife to score a few lines across the top. This step isn’t just for looks—it helps the bread expand beautifully. Let it rest for 20 to 30 minutes, just enough time for the gluten to relax and the dough to puff slightly.
Step 6: Preheat the Oven
While the dough rests, preheat your oven to 450°F with your baking surface (a stone, Dutch oven, or skillet) inside. Starting with a hot surface is crucial for that iconic artisan bread oven spring and crackling crust.
Step 7: Bake with Steam
Using the parchment, carefully slide your dough loaf onto the hot surface in the oven. To create steam (which gives a crisp, glossy crust), quickly add a cup of hot water or a few ice cubes to the oven bottom and shut the door right away.
Step 8: Bake to Boule Brilliance
Bake for 25 to 30 minutes until your loaf is a deep golden brown and sounds hollow when tapped. This is when the whole house starts to smell like magic!
Step 9: Cool and Admire
Transfer the bread to a wire rack and let it cool for at least 30 minutes before slicing. This wait allows the crumb to set, ensuring every piece cuts cleanly and holds its lovely texture.
Step 10: Store Properly
To keep the crust crisp, store your bread in a paper bag. Plastic bags will make the crust soft, so paper is your friend!
How to Serve Artisan Bread Recipe
Garnishes
For a rustic touch, brush the top with a bit of melted butter and sprinkle on sea salt flakes or fresh herbs just as your loaf finishes cooling. If you’d like to go even fancier, a hint of garlic rub or olive oil adds a gorgeous aroma to every slice.
Side Dishes
The beauty of the Artisan Bread Recipe is its versatility—slice and serve it alongside a steaming bowl of soup, a fresh garden salad, or a classic charcuterie platter. Its mild, balanced flavor makes it perfect for sopping up sauces or layering under cheese and roasted veggies.
Creative Ways to Present
Try hollowing out a round loaf and turning it into an edible bread bowl for soups or dips, or slice it horizontally for a dreamy open-faced sandwich. Want to really impress? Toast thick pieces and arrange with honey, fruit, or whipped ricotta for a brunch-worthy spread.
Make Ahead and Storage
Storing Leftovers
Keep any leftover Artisan Bread Recipe in a paper bag at room temperature for up to two days. This preserves the crust’s signature crunch without drying out the interior. If you’re planning to nibble all week, just wrap slices in a clean towel and store on the counter.
Freezing
This bread freezes beautifully! Once it’s cooled completely, wrap individual slices or whole loaves tightly in plastic wrap and pop into a freezer bag. Pull out portions as needed; no more worrying about bread going stale before you finish it.
Reheating
Thaw frozen bread at room temperature, then revive it in a hot oven (around 350°F) for 5 to 10 minutes. Warmed, the Artisan Bread Recipe regains its signature crustiness and that just-baked wonder—perfect for breakfast or serving alongside dinner.
FAQs
Can I use whole wheat flour in this Artisan Bread Recipe?
Absolutely! Swap out up to half the white flour for whole wheat for a slightly denser, earthier loaf. You might need to add a couple extra tablespoons of water, as whole wheat flour absorbs more.
How do I know my dough has risen enough?
Look for a soft, slightly jiggly dough that has doubled in size and is filled with bubbles. If you gently poke it, the indentation should slowly spring back—this is when it’s ready to shape!
Why do I need steam in the oven?
Steam keeps the bread’s crust from setting too early, allowing the loaf to expand fully, and it also gives the Artisan Bread Recipe a glistening, crisp exterior. That bakery-quality crust is all thanks to a burst of oven steam!
Can I make this recipe without a baking stone or Dutch oven?
If you don’t have any special equipment, don’t worry—a heavy baking sheet works in a pinch. The important thing is to get it really hot before sliding in your dough.
What’s the best way to slice artisan bread?
Use a serrated bread knife and saw gently through the loaf—it’s worth letting it cool first, so you won’t squash the crumb or shred the crust. For extra-even slices, hold the loaf steady and use long, smooth motions.
Final Thoughts
There’s something so rewarding about baking homemade bread, and this Artisan Bread Recipe makes that pleasure totally accessible. If you try it once, you’ll want to bake it again and again—so don’t be surprised when it becomes your signature loaf. Happy baking!
PrintArtisan Bread Recipe
Learn how to make your own delicious and rustic Artisan Bread at home with this simple recipe. This bread is crusty on the outside, chewy on the inside, and perfect for any meal or occasion.
- Prep Time: 15 minutes
- Cook Time: 30 minutes
- Total Time: 3 hours
- Yield: 1 large loaf or 2 smaller loaves 1x
- Category: Bread
- Method: Baking
- Cuisine: European
- Diet: Vegetarian
Ingredients
Dry Ingredients:
- 3 cups (395 grams) all-purpose flour or bread flour
- ½ tablespoon kosher salt
- ¼ ounce instant or active dry yeast packet (or 2 ¼ teaspoons)
Wet Ingredients:
- 1 ½ cups warm water (105°F)
Instructions
- Combine Dry Ingredients: In a large bowl, combine flour, salt, and yeast.
- Add Wet Ingredients: Pour warm water over dry ingredients and mix until combined. Dough should be sticky but manageable.
- Let the Dough Rise: Cover the bowl with a towel or plastic wrap and let it rise at room temperature for 2 to 10 hours or overnight for the best flavor.
- Shape the Dough: Wet your hands and turn the dough onto a lightly floured surface. Gently fold edges into the center to form a round loaf or divide into two loaves, tucking the ends underneath.
- Prepare for Baking: Place the dough on parchment paper, dust the top with flour, score 1 to 4 lines with a bread knife, and let it rest for 20 to 30 minutes.
- Preheat and Bake: Preheat the oven to 450°F with a baking stone, pizza stone, Dutch oven, or iron skillet inside. Slide the dough with parchment onto the hot surface. Add 1 cup hot water or 5 ice cubes to the oven bottom for a crustier loaf, then close the oven quickly. Bake for 25 to 30 minutes until golden brown and crusty.
- Cool and Serve: Cool the bread on a rack for at least 30 minutes before slicing. Store the bread in a paper bag to maintain the crust’s crispness.
Notes
- You can customize this bread by adding herbs, olives, or cheese to the dough before baking for added flavor.
- For a softer crust, brush the top of the bread with melted butter immediately after baking.
Nutrition
- Serving Size: 1 slice (about 50g)
- Calories: 120
- Sugar: 0g
- Sodium: 290mg
- Fat: 0.5g
- Saturated Fat: 0g
- Unsaturated Fat: 0.5g
- Trans Fat: 0g
- Carbohydrates: 25g
- Fiber: 1g
- Protein: 4g
- Cholesterol: 0mg
Keywords: Artisan Bread, Homemade Bread, Rustic Bread, Crusty Bread


