Banana Pudding Delight Recipe
Introduction
Banana Pudding Delight is a classic, crowd-pleasing dessert that’s creamy, sweet, and easy to assemble. Layers of vanilla wafers, ripe bananas, and smooth pudding create a comforting treat perfect for any occasion.
Ingredients
- 2 boxes vanilla wafers
- 6 to 8 ripe bananas, sliced
- 2 cups milk
- 1 (5 oz) box French vanilla pudding mix
- 1 (8 oz) package cream cheese
- 1 (14 oz) can sweetened condensed milk
- 1 (12 oz) container frozen whipped topping, thawed, or sweetened whipped cream
Instructions
- Step 1: Line a 13×9 inch dish with half of the vanilla wafers, then layer the sliced bananas evenly on top.
- Step 2: In a bowl, blend the milk and French vanilla pudding mix using a handheld mixer until the mixture is creamy and smooth.
- Step 3: In a separate bowl, stir together the cream cheese and sweetened condensed milk until the mixture is smooth and well combined.
- Step 4: Gently fold the thawed whipped topping into the cream cheese mixture until fully incorporated.
- Step 5: Mix the cream cheese and whipped topping blend into the prepared pudding until completely combined.
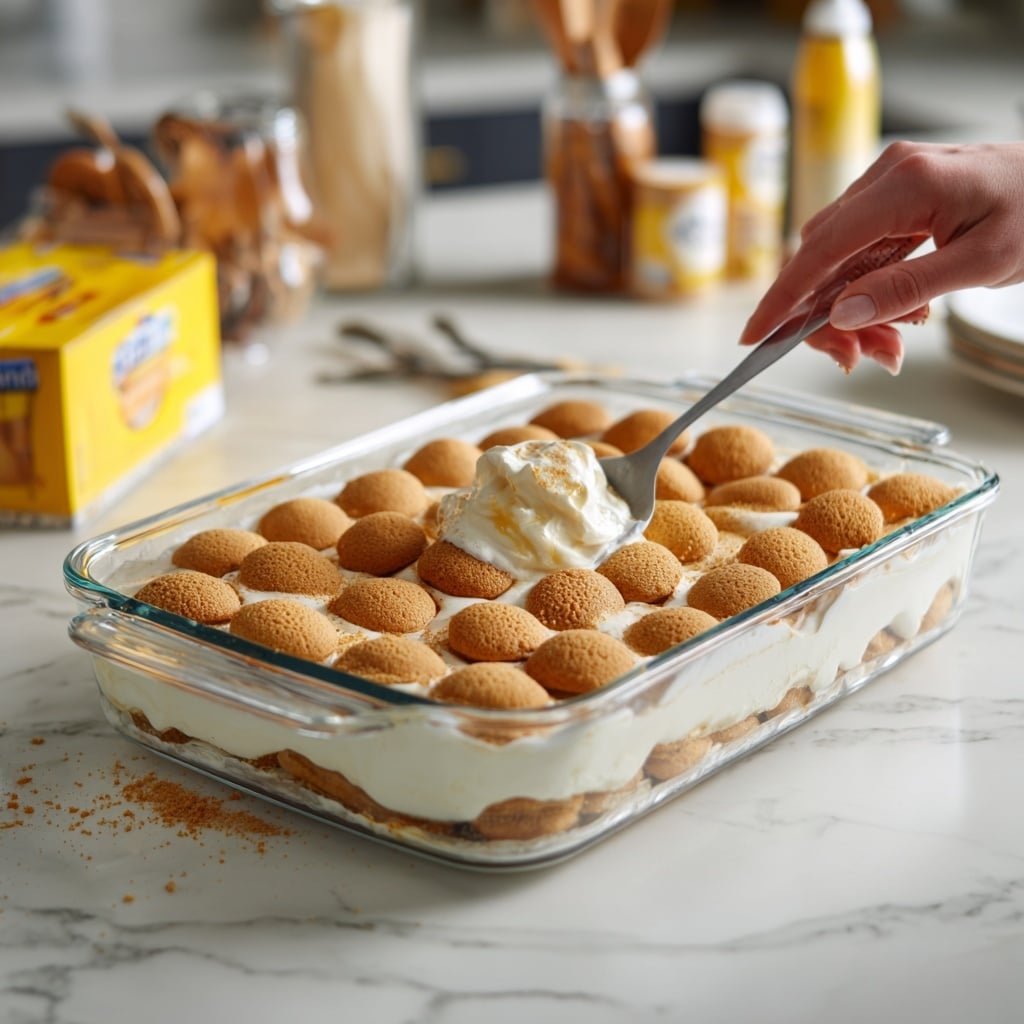
- Step 6: Pour this creamy mixture over the banana and vanilla wafer base, spreading evenly.
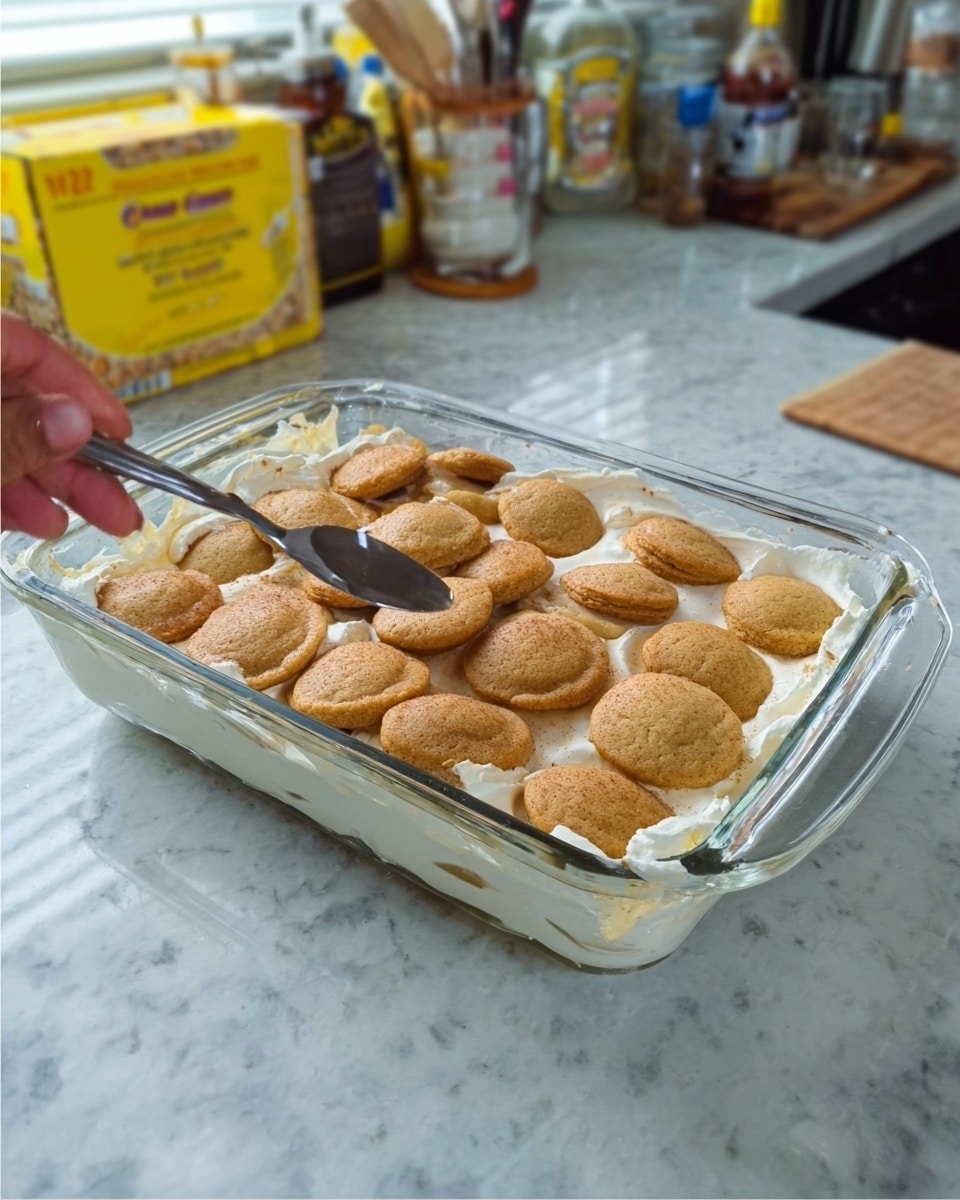
- Step 7: Top the pudding layer with the remaining vanilla wafers.
- Step 8: Cover and chill in the refrigerator for several hours or until set before serving.
Tips & Variations
- Use slightly underripe bananas for a firmer texture and to prevent browning.
- Add a sprinkle of cinnamon or nutmeg between layers for extra warmth and flavor.
- Try using homemade vanilla pudding for a fresher taste.
- For a lighter version, substitute the cream cheese with mascarpone or Greek yogurt.
Storage
Store banana pudding covered in the refrigerator for up to 3 days. The vanilla wafers may soften over time, so it’s best enjoyed within this period. Reheat is not recommended as it is best served chilled.
How to Serve
Serve this delicious recipe with your favorite sides.
FAQs
Can I use fresh whipped cream instead of frozen whipped topping?
Yes, fresh whipped cream works well and adds a light texture. Just make sure it is sweetened and stabilized to hold up in the pudding.
How do I prevent bananas from browning in the pudding?
Use ripe but firm bananas and slice them right before assembling. You can also brush the slices with a little lemon juice to slow discoloration.
PrintBanana Pudding Delight Recipe
Banana Pudding Delight is a creamy, no-bake dessert featuring layers of vanilla wafers, ripe bananas, and a luscious blend of French vanilla pudding, cream cheese, and whipped topping. It’s a perfect chilled treat for gatherings or a sweet family indulgence.
- Prep Time: 15 minutes
- Cook Time: 0 minutes
- Total Time: 4 hours 15 minutes (including chilling time)
- Yield: 12 servings 1x
- Category: Dessert
- Method: No-Cook
- Cuisine: American
Ingredients
Base
- 2 boxes vanilla wafers
- 6 to 8 ripe bananas, sliced
Pudding Mixture
- 2 cups milk
- 1 (5 oz) box French vanilla pudding mix
Cream Cheese Mixture
- 1 (8 oz) package cream cheese
- 1 (14 oz) can sweetened condensed milk
- 1 (12 oz) container frozen whipped topping, thawed, or sweetened whipped cream
Instructions
- Prepare the base: Line a 13×9 inch dish with half of the vanilla wafers, creating an even layer. Then layer the sliced bananas evenly over the wafers to build the foundational part of the dessert.
- Make pudding mixture: In a bowl, combine the milk with the French vanilla pudding mix. Use a handheld mixer to blend them until the mixture is thick and creamy.
- Prepare cream cheese mixture: In a separate bowl, stir together the cream cheese and sweetened condensed milk until the mixture is smooth and free of lumps.
- Incorporate whipped topping: Gently fold the thawed whipped topping into the cream cheese mixture to maintain a light and fluffy texture.
- Combine pudding and cream cheese mixtures: Mix the cream cheese blend into the prepared pudding mixture until fully combined, ensuring a uniform creamy consistency.
- Assemble dessert layers: Pour the combined pudding and cream cheese mixture evenly over the cookie and banana base in the dish.
- Top with remaining wafers: Sprinkle the remaining vanilla wafers over the top of the pudding mixture to add a crispy texture contrast.
- Chill and set: Place the assembled dessert in the refrigerator and chill for several hours until it is fully set and firm before serving.
Notes
- This dessert must be refrigerated for at least 4 hours to allow the layers to set properly.
- Use ripe bananas for best flavor; firm but ripe bananas work well to prevent mushiness.
- For a lighter version, substitute reduced-fat cream cheese and whipped topping.
- Vanilla wafers can be crushed slightly if preferred for easier spooning and serving.
- To prevent browning, slice bananas right before assembling or lightly brush with lemon juice.
Keywords: banana pudding, no-bake dessert, vanilla wafers, creamy pudding dessert, layered banana dessert
