Easy Beginner Sourdough Starter Recipe
Introduction
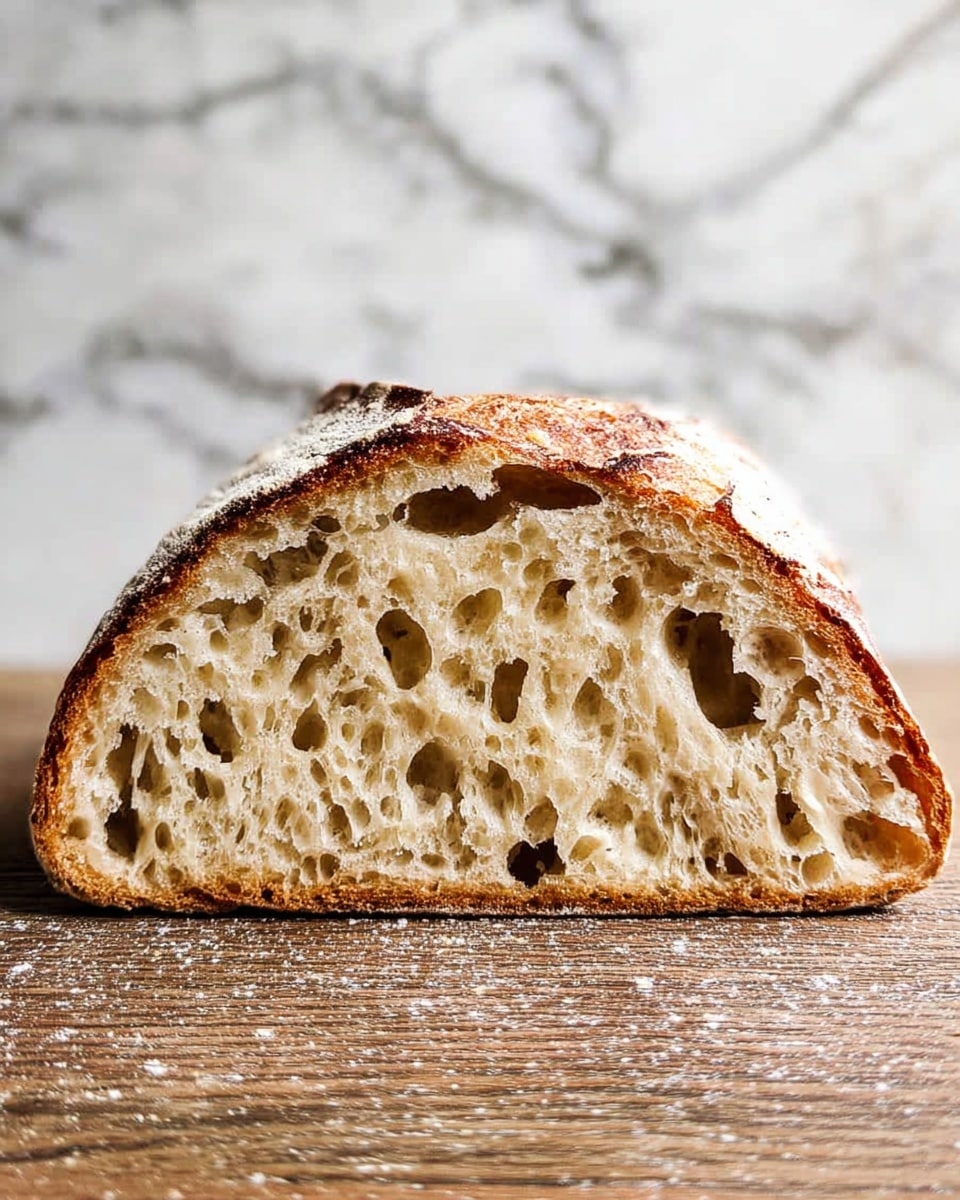
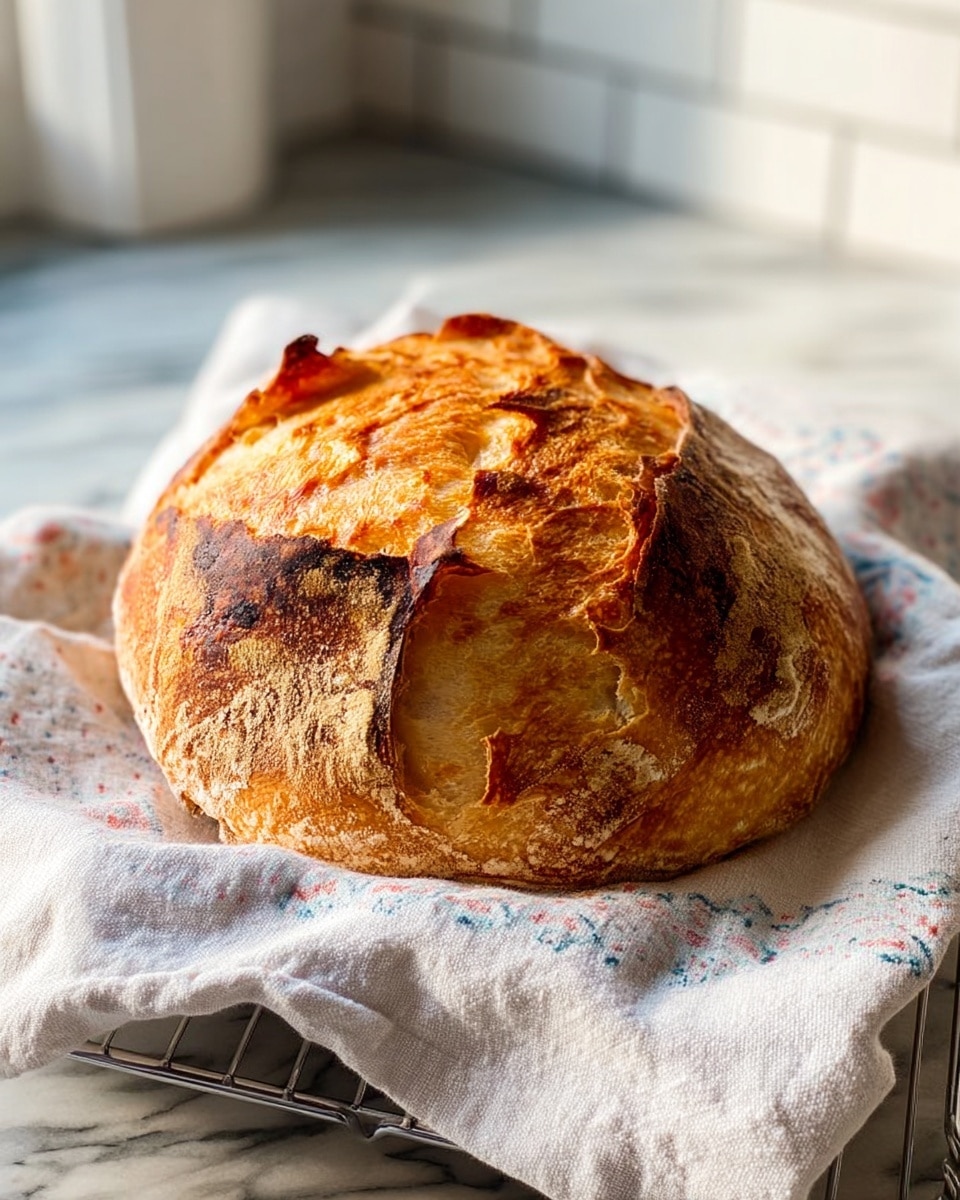
Creating your own sourdough starter is a rewarding way to begin baking delicious, tangy bread at home. This easy beginner sourdough starter recipe uses just flour and water to cultivate the natural wild yeast needed for great bread. In about two weeks, you’ll have a lively starter ready for baking!
Ingredients
- 1/2 cup (60 grams) organic, unbleached all-purpose flour
- 1/4 cup (60 grams) water
- Glass jar with lid (holds about 2 cups/16 ounces/470 ml)
Instructions
- Day 1: In a glass jar, combine 1/2 cup (60 grams) of flour with 1/4 cup (60 grams) of water. Mix thoroughly until smooth. Cover the jar and place it in a warm, room-temperature spot for 24 hours. A good warm spot can be inside an oven with the light on or on top of the refrigerator.
- Day 2: Remove half of the starter mixture and either discard it or save it in the refrigerator for discard recipes. Feed the starter by adding 1/2 cup (60 grams) of flour and 1/4 cup (60 grams) of water. Stir well, scrape down the sides, cover, and return it to the warm spot for another 24 hours.
- Days 3–7: Repeat the feeding process each day: discard half, then add 1/2 cup flour and 1/4 cup water, stir well, cover, and place in a warm spot.
- Days 7–14: Continue daily feedings. Watch for the starter to double in size and develop a pleasantly tangy, sour aroma. To test activity, drop a small spoonful of starter into a dish of water—if it floats, your starter is ready to use!
Tips & Variations
- Use a rubber band or a wet-erase marker to mark the starter’s height each day to easily track growth.
- If your starter develops liquid on top (called “hooch”), stir it back in gently or pour it off before feeding.
- For a more robust starter, try using a mix of whole wheat or rye flour with the all-purpose flour during feedings.
- Keep the discarded starter in the refrigerator and use it within a week for pancakes, crackers, or other recipes.
Storage
Once active and bubbly, your starter can be stored in the refrigerator if you don’t plan to bake daily. Feed it once a week by removing half and replenishing the flour and water. When ready to bake, take it out a day before, feed it, and let it come to room temperature until bubbly. Refrigerated starters can last indefinitely with regular feedings.
How to Serve
Serve this delicious recipe with your favorite sides.
FAQs
What if my starter doesn’t bubble or rise?
It may need more time or a consistently warm environment to activate. Make sure to feed it regularly and keep it at about 70–75°F (21–24°C). If it still doesn’t show signs after two weeks, consider starting over with fresh flour and water.
Can I use tap water for the starter?
It’s best to use filtered or bottled water, as chlorine in tap water can inhibit yeast growth. If you only have tap water, let it sit uncovered for a few hours to allow chlorine to evaporate before using.
PrintEasy Beginner Sourdough Starter Recipe
This Easy Beginner Sourdough Starter Recipe guides you through the simple process of cultivating your own natural yeast starter at home. Perfect for aspiring bakers, this recipe outlines daily feeding and maintenance steps to develop an active, bubbly starter that brings authentic tangy flavor and improved texture to your homemade sourdough breads.
- Prep Time: 5 minutes
- Total Time: 14 days (with daily 5-minute feedings)
- Yield: Approximately 1 cup of active sourdough starter 1x
- Category: Starter
- Method: No-Cook
- Cuisine: Baking
- Diet: Vegetarian
Ingredients
Starter Ingredients
- 1/2 cup (60 grams) organic, unbleached all-purpose flour
- 1/4 cup (60 grams) water
Supplies
- Glass jar with lid (holding about 2 cups, 16 ounces, 470 ml)
- Additional glass jar (for discard, optional)
- Wooden spoon
- Silicone or rubber spatula
- Rubber band or wet-erase marker (for monitoring starter growth)
Instructions
- Day 1: Initial Mix
Combine 1/2 cup (60 grams) of flour and 1/4 cup (60 grams) of water in a glass jar. Mix thoroughly until smooth. Cover the jar and place it in a warm spot at room temperature for 24 hours. Ideal warm locations include the oven with the light turned on or on top of the refrigerator.
- Day 2: First Feeding
Discard half of the starter mixture, or save it refrigerated for discard recipes. Add another 1/2 cup (60 grams) of flour and 1/4 cup (60 grams) of water to the jar. Stir well, scrape down the jar sides, cover, and place back in a warm spot for another 24 hours.
- Days 3 to 7: Daily Feedings
Repeat the Day 2 feeding process each day: discard half the starter, replenish with fresh flour and water, stir thoroughly, cover, and keep warm. This daily routine encourages yeast growth and activity.
- Days 7 to 14: Monitoring and Activation
Continue daily feedings while monitoring the starter’s growth. Use a rubber band or marker to note when the starter doubles in size. Look for a pleasantly tangy and sour aroma. To test readiness, drop a spoonful of starter into a dish of water; if it floats, the starter is active and ready to use in sourdough baking.
Notes
- Using organic flour can promote healthier yeast development due to fewer chemicals.
- Discarded starter can be stored in the refrigerator and used for recipes such as pancakes or crackers.
- Maintaining a consistent warm environment speeds up fermentation and activity.
- Use a glass jar to easily see the starter’s activity and growth.
- The starter typically takes 7 to 14 days to reach full strength.
- If mold or an off smell develops, discard the batch and start over.
Keywords: sourdough starter, beginner sourdough, natural yeast starter, sourdough recipe, homemade starter, baking starter, organic flour sourdough


