Frosted Christmas Brownies Recipe
If you’re looking to bring a festive flair to your holiday dessert table, these Frosted Christmas Brownies are the ultimate crowd-pleaser. Rich, fudgy brownies form the perfect base for vibrant, creamy frostings in traditional Christmas colors, accented with shimmering edible gold stars and delicate white pearl sprinkles. Whether you’re baking for a cozy family gathering or a lively holiday party, these brownies combine ease and elegance, making seasonal baking both joyful and delicious. Trust me, once you try these Frosted Christmas Brownies, they’ll become your go-to festive treat year after year.
Ingredients You’ll Need
This recipe uses simple, straightforward ingredients that work together to create that perfect balance of chewy texture, sweet frosting, and eye-catching holiday colors. Each component plays a vital role in making these brownies not just tasty, but a true festive showstopper.
- 2 Boxes of Brownie Mix, or a double batch of homemade brownies: Using brownie mix keeps things quick, but homemade brownies bring a personalized touch and richer flavor.
- White Frosting, 1-3 jars: This is the canvas for your decorations, offering creamy texture and sweetness that pairs beautifully with chocolate.
- Edible Gel Food Coloring: Easily transforms your frosting into vivid reds and greens without the risk of watering down the texture.
- Edible Gold Stars: These add festive sparkle and make each brownie feel truly special.
- White Pearl Sprinkles: Their subtle shine and crunch enhance the decorative appeal and add a fun texture contrast.
- Icing Bags: Essential for precise, neat frosting application, especially when piping decorative patterns.
- Frosting Tips (large star – 1M): Ideal for creating classic scallops and rosettes that beautifully mimic holiday motifs.
- Spray Oil: Prevents your brownies from sticking to the pan and ensures perfect edges when slicing.
How to Make Frosted Christmas Brownies
Step 1: Prepare and Bake the Brownies
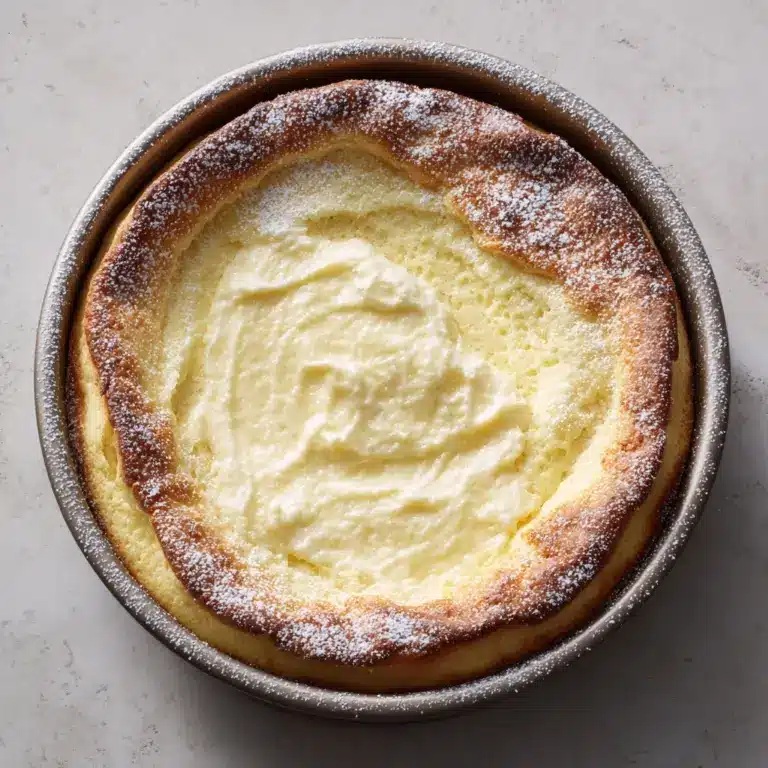
Start by preheating your oven following the instructions on your brownie mix box. Lightly spray a 9-inch springform pan with oil to prevent sticking and make removal a breeze. Mix both boxes of brownie mix (or prepare your homemade batter double the batch size), then pour it evenly into the pan. Baking times may vary, so keep an eye on your brownies and use a toothpick to test doneness—it should come out clean when they are perfectly baked.
Step 2: Cool and Slice the Brownies
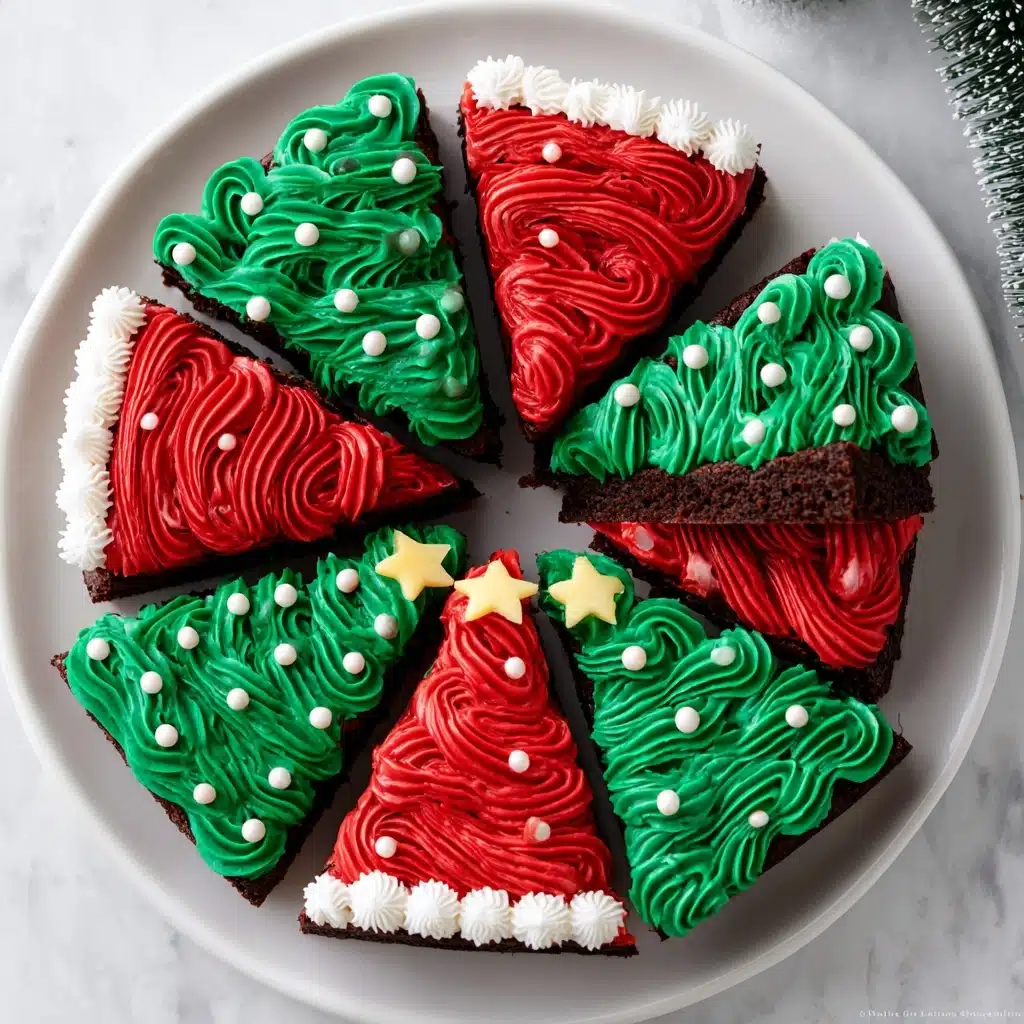
Once baked, let your brownies cool completely in the springform pan to firm up. Carefully release the pan sides and transfer the slab to a cutting board. For the festive Christmas shape, slice into 8 triangular pieces—each one a little “tree” or “hat” ready for decorating.
Step 3: Color and Prepare Frostings
Divide your white frosting into three small bowls. Add red gel food coloring to one, green to another, and leave the last bowl plain white. Mixing frosting with gel colors allows you to achieve bold, vibrant hues without thinning out the consistency. Transfer each colored frosting into separate icing bags fitted with your chosen frosting tip, usually a large star tip (1M), perfect for creating that classic festive texture.
Step 4: Decorate Your Frosted Christmas Brownies
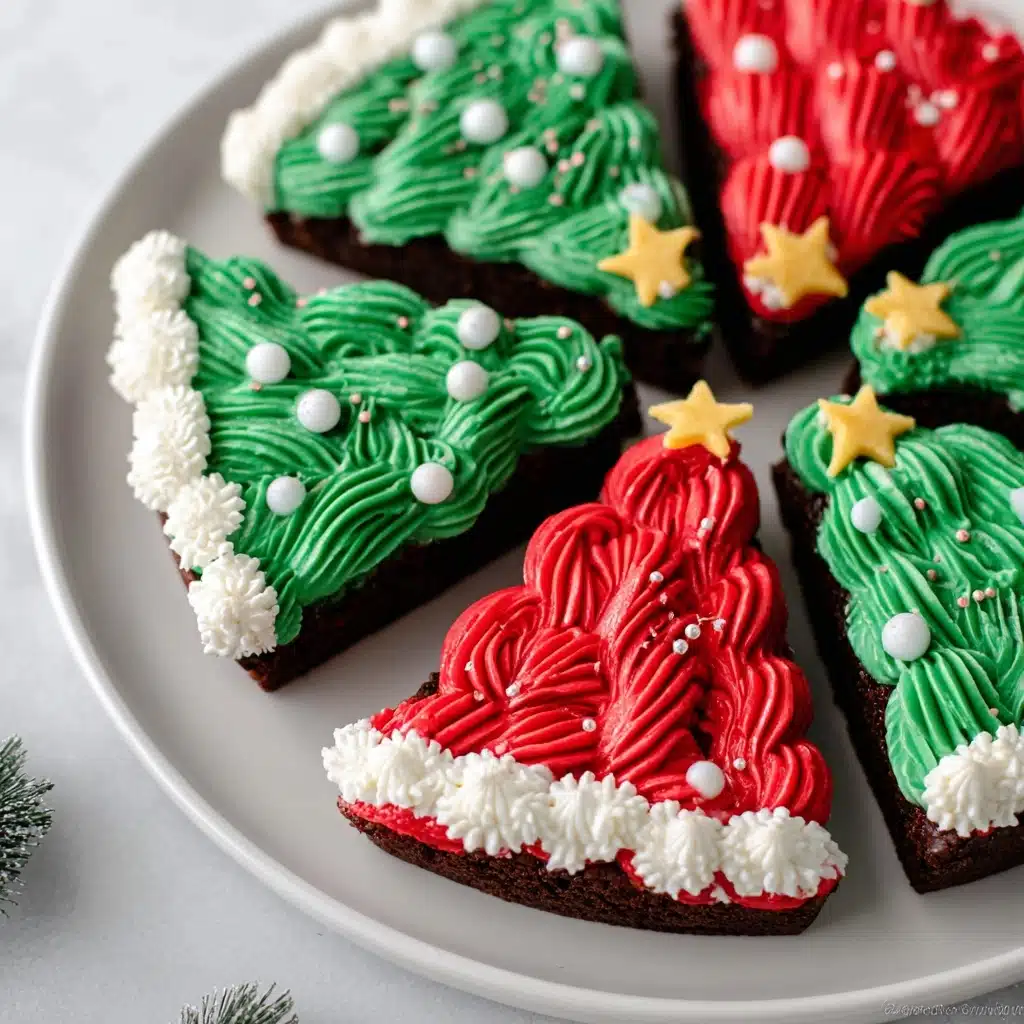
Now for the fun part! Use the green frosting to pipe “Christmas tree” shapes or swirls resembling tree branches. Add white pearl sprinkles as snow and top with edible gold stars for that magical sparkle. Alternatively, pipe white and green frosting for those adorable Santa Claus hat brownies. Let your creativity shine as you bring these festive treats to life with your own personal touch.
How to Serve Frosted Christmas Brownies
Garnishes
Decorations aren’t just for looks—they enhance the eating experience. The edible gold stars add a beautiful shimmer that’s delightful to bite into. White pearl sprinkles give a delicate crunch and mimic the look of fresh winter snow, perfectly complementing the rich chocolate and creamy frosting.
Side Dishes
These brownies pair superbly with classic holiday beverages like hot cocoa, mulled wine, or a spiced chai latte. Fresh peppermint sticks or a scoop of vanilla bean ice cream can also balance the sweetness and add extra sweetness and texture on the side.
Creative Ways to Present
Arrange your Frosted Christmas Brownies on a festive platter lined with evergreen sprigs or red and green ribbons for a charming centerpiece. You could also serve them in individual clear bags tied with holiday-themed twist ties as delightful edible gifts that will wow your friends and family.
Make Ahead and Storage
Storing Leftovers
Once decorated, you can keep the Frosted Christmas Brownies fresh by storing them in an airtight container at room temperature for up to 3 days. If your home is particularly warm, it’s best to refrigerate them to keep the frosting intact, but bring them to room temperature before serving for optimal flavor.
Freezing
For longer storage, freeze the undecorated brownies tightly wrapped in plastic wrap and foil for up to 3 months. Once thawed, then frost and decorate to preserve the texture and freshness of your sugary designs without dilution.
Reheating
Brownies are best enjoyed at room temperature, so avoid reheating once frosted. If you have unfrosted brownies, a quick 15-second zap in the microwave can revive their warm, gooey charm beautifully.
FAQs
Can I make homemade brownies instead of using boxed mix?
Absolutely! A homemade brownie batter adds more control over flavor and texture, and it’s just as delightful. Just be sure to double the batch to have enough brownies for decorating as described.
What if I don’t have a springform pan?
A regular 9×9 inch square pan works just fine. Just be sure to cut the brownies into triangles or shapes of your choice after cooling to keep the festive vibe.
Can I substitute the white frosting?
Sure! Cream cheese frosting or buttercream work well too, but keep in mind their flavor profile will be richer and may affect the texture slightly when mixed with gel coloring.
Is it okay to use natural food coloring?
Definitely. Natural colorings like beet juice for red and spinach powder for green can be used. Just remember these may alter the flavor and the frosting consistency a bit.
How far in advance can I decorate the brownies?
You can decorate the brownies up to a day in advance. Store them in an airtight container in a cool place to keep the frosting fresh and the sprinkles intact.
Final Thoughts
Making Frosted Christmas Brownies is such a joyous way to get into the holiday spirit while treating yourself and your loved ones to something truly special. The combination of fudgy chocolate, festive colors, and sparkling decorations never fails to bring smiles and warm hearts. So grab those ingredients, roll up your sleeves, and create some sweet memories with this wonderfully fun and delicious holiday recipe!
PrintFrosted Christmas Brownies Recipe
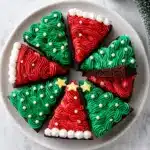
Celebrate the holiday season with these festive Frosted Christmas Brownies, featuring rich, fudgy brownies decorated with colorful red, green, and white frostings, edible gold stars, and white pearl sprinkles. Perfectly shaped into triangles to resemble Christmas trees and Santa hats, these brownies bring a fun and delicious twist to your holiday dessert table.
- Prep Time: 20 minutes
- Cook Time: 30 minutes
- Total Time: 50 minutes
- Yield: 8 servings 1x
- Category: Dessert
- Method: Baking, Decorating
- Cuisine: American
- Diet: Vegetarian
Ingredients
Brownie Base
- 2 Boxes of Brownie Mix, or a double batch of homemade brownies
- Spray oil for greasing
Frosting
- 1–3 jars White Frosting (depending on desired amount for decorating)
- Edible Gel Food Coloring (red and green, preferably no artificial dyes)
Decorations
- Edible Gold Stars
- White Pearl Sprinkles
- Icing Bags
- Frosting Tips (large star tip – 1M)
Instructions
- Preheat and Prepare Pan: Preheat your oven according to the instructions on your brownie mix boxes. Spray a 9-inch springform pan with spray oil to prevent sticking.
- Mix Brownie Batter: Combine both boxes of brownie mix or prepare a double batch of your homemade brownies. Pour the batter evenly into the prepared springform pan.
- Bake Brownies: Bake according to the package instructions until a toothpick inserted in the center comes out clean. Remove from the oven and allow to cool completely.
- Slice Brownies: After cooling, remove the brownies from the springform pan and place them on a cutting board. Cut the brownies into 8 equal triangles to resemble Christmas trees or hats.
- Prepare Frostings: In separate small bowls, tint white frosting with red and green edible gel food coloring to create vibrant holiday colors. Leave some frosting white for contrast.
- Fill Icing Bags: Transfer the red, green, and white frostings into individual icing bags fitted with a large star tip (1M) for easy decorating.
- Decorate: Use the green frosting to frost the triangle brownies shaped like Christmas trees, adding white pearl sprinkles as snow and gold stars as tree toppers. For Santa hat brownies, pipe red and white frosting to mimic the classic look.
- Serve and Enjoy: Arrange your decorated brownies on a festive platter and enjoy these delightful holiday treats with family and friends.
Notes
- You can use your favorite homemade brownie recipe instead of box mixes for a more personalized flavor.
- Adjust the amount of food coloring to achieve your preferred frosting color intensity.
- Ensure brownies are fully cooled before frosting to prevent melting and sliding.
- If you don’t have a large star tip, a round tip or even a plastic bag with a small cut corner can be used for piping.
- Store frosted brownies in an airtight container at room temperature for up to 3 days.
Nutrition
- Serving Size: 1 brownie triangle
- Calories: 280 kcal
- Sugar: 22 g
- Sodium: 150 mg
- Fat: 14 g
- Saturated Fat: 5 g
- Unsaturated Fat: 7 g
- Trans Fat: 0 g
- Carbohydrates: 36 g
- Fiber: 2 g
- Protein: 3 g
- Cholesterol: 25 mg
Keywords: Christmas brownies, holiday brownies, festive brownies, decorated brownies, holiday dessert, Christmas treats
