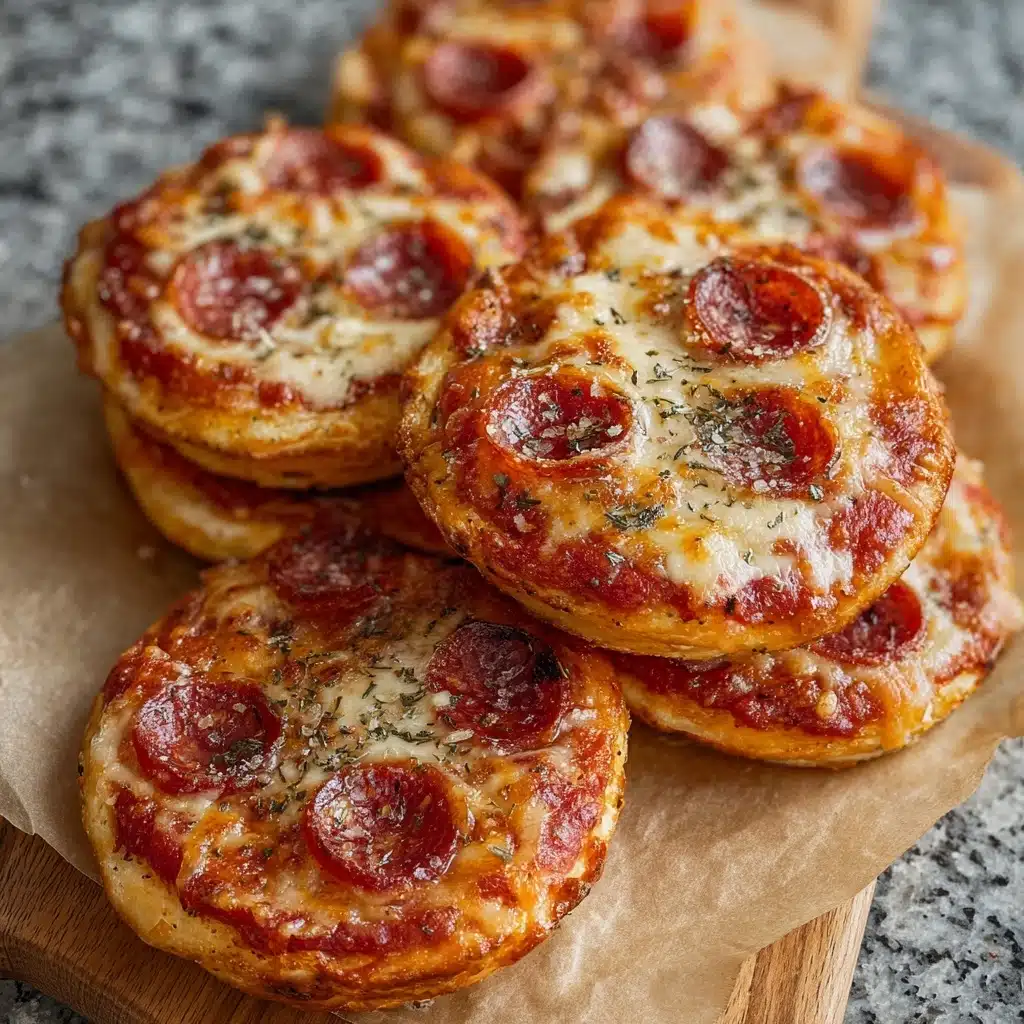
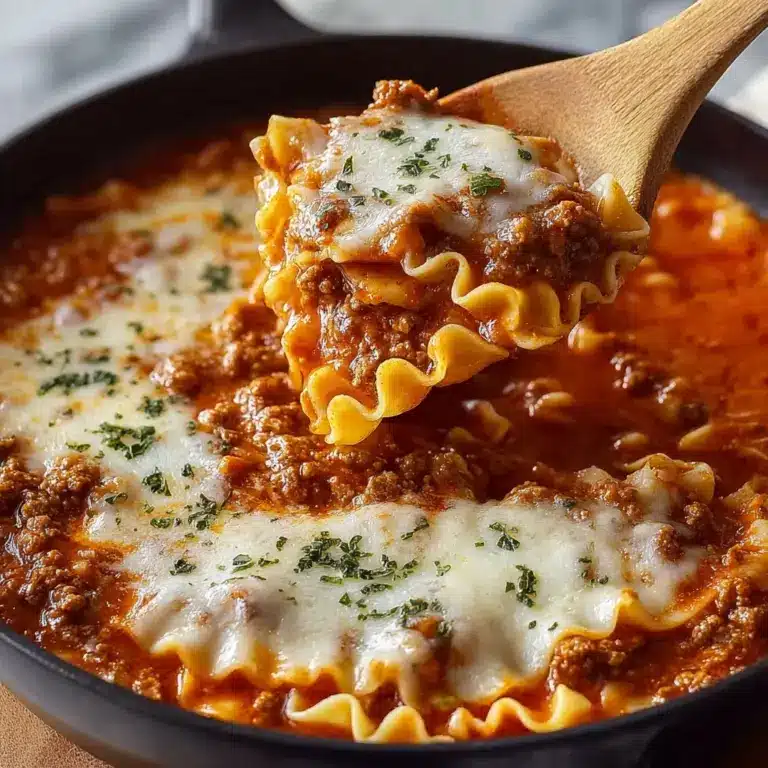
Mini Lunchbox Pizzas Recipe
There is something wonderfully nostalgic and delightfully simple about Mini Lunchbox Pizzas. These bite-sized pizzas bring all the joy of your favorite takeout in a perfectly portable, kid-friendly size. With a soft, tangy yogurt-dough base, topped with rich tomato paste, melty mozzarella, and savory pepperoni, they are the ultimate crowd-pleasers for lunchboxes, snacks, or casual gatherings. Every bite bursts with comforting flavors, making them a recipe you’ll find yourself returning to time and time again.

Ingredients You’ll Need
The magic of these Mini Lunchbox Pizzas lies in a handful of simple ingredients that work together beautifully. Each component plays a crucial role, from the tender dough to the vibrant tomato paste and creamy mozzarella, resulting in pizzas that are as delicious as they are easy to make.
- Self-raising flour: This eliminates the need for yeast, giving the dough a nice rise and tender crumb with minimal effort.
- Full-fat plain Greek yogurt: Adds moisture and a subtle tang, making the dough soft and flavorful.
- Tomato paste (concentrated puree): Offers a rich and intense tomato flavor that acts as the perfect pizza sauce base.
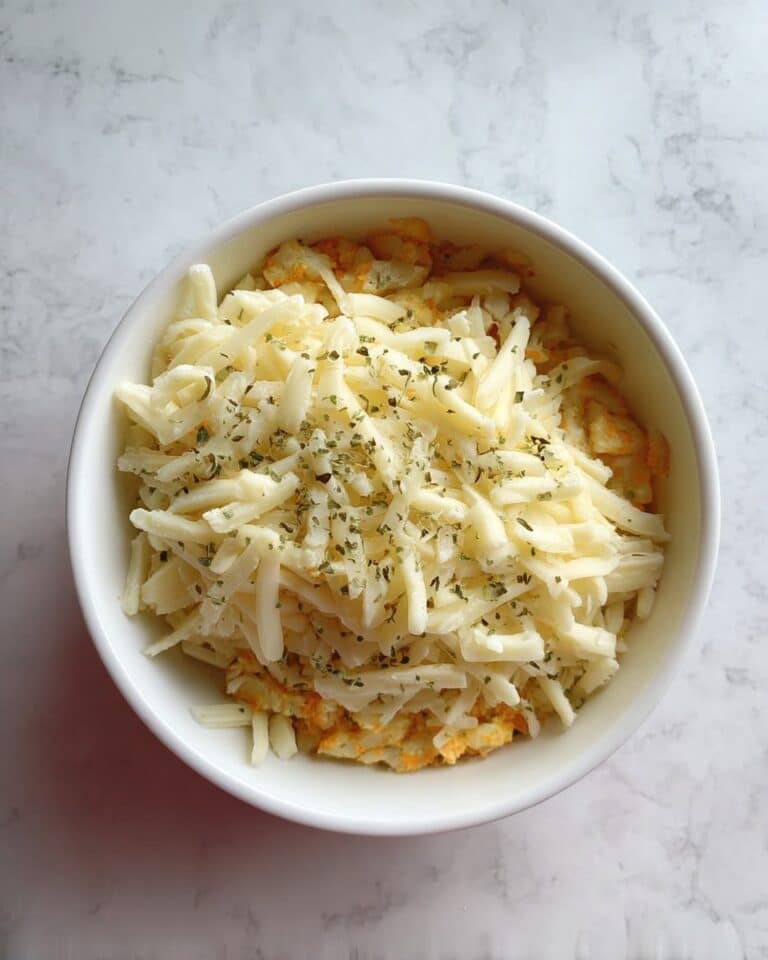
- Freshly shredded mozzarella: Melts beautifully to give each pizza that classic gooey cheese pull.
- Pepperoni: Provides a spicy, savory hit that complements the creamy cheese and tangy tomato perfectly.
How to Make Mini Lunchbox Pizzas
Step 1: Prepare the Oven and Baking Tray
Start by preheating your oven to 200°C (400°F) or 180°C (350°F) if you’re using a fan-forced oven. Line a baking tray with parchment paper—this helps prevent sticking and keeps cleanup quick, so you can focus on the fun stuff.
Step 2: Make the Dough
Combine 2 cups of self-raising flour and 1 cup of full-fat Greek yogurt in a large bowl. At first, mix with a spoon until the mixture looks like large flakes. Then, use your hands to knead the dough until it comes together as a soft, cohesive ball. This usually takes just 1 to 2 minutes. The gentle tang from the yogurt creates a tender dough that’s easy to work with and really tasty.
Step 3: Shape the Mini Pizzas
Lightly flour your work surface and roll the dough out to a thickness of about 1 cm (½ inch). Use a large mug or cookie cutter to cut rounds—this is part of the fun, especially if you have kiddos who love to get involved! Place these dough rounds onto your lined baking tray, spaced just slightly apart.
Step 4: Add the Toppings
Spread a thin layer of tomato paste over each dough round—about 1 teaspoon per pizza is perfect to keep things balanced. Next, sprinkle on freshly shredded mozzarella—about a generous tablespoon so each bite is cheesy and satisfying. Finally, top with pepperoni slices to provide that classic salty, spicy kick every mini pizza deserves.
Step 5: Bake to Golden Perfection
Pop your tray into the oven and bake for 12 to 14 minutes. Keep an eye out for the edges to turn golden brown and the cheese to melt beautifully. The smell when these come out will have you eager to dive in immediately!
Step 6: Cool and Serve
Let the Mini Lunchbox Pizzas cool slightly on the tray—this helps the cheese set just a bit so everything holds together perfectly when you bite in. They’re best enjoyed warm but also make a fantastic snack at room temperature.
How to Serve Mini Lunchbox Pizzas
Garnishes
Though these Mini Lunchbox Pizzas are delicious as is, feel free to sprinkle fresh herbs like basil or oregano on top after baking for a vibrant pop of color and flavor. A drizzle of olive oil or a pinch of chili flakes can also elevate the taste and impress your guests or kids even more.
Side Dishes
Serve your mini pizzas alongside crunchy veggie sticks, a fresh garden salad, or even some baked sweet potato fries for a well-rounded and colorful meal. The combination keeps things fun and balances out the cheesy richness.
Creative Ways to Present
Try assembling the Mini Lunchbox Pizzas on a wooden board for a casual party platter or pack them individually in lunch containers for school or work. You can even stack them with parchment layers between so they stay neat and easy to grab during picnics or road trips.
Make Ahead and Storage
Storing Leftovers
If you have any leftover Mini Lunchbox Pizzas (and trust me, that’s rare), store them in an airtight container in the fridge for up to 2 days. They maintain their flavor and texture well enough for a quick snack or lunch on the next day.
Freezing
These mini pizzas freeze beautifully—place them in a single layer on a baking tray, freeze until solid, then transfer to a freezer-safe bag or container. They can keep well for up to 2 months, ready for whenever you need a quick homemade bite.
Reheating
To reheat, place the pizzas on a baking sheet and warm them in a preheated oven at 180°C (350°F) for about 8 to 10 minutes. This method preserves the crust’s crispness and the gooeyness of the melted cheese much better than the microwave.
FAQs
Can I make the dough ahead of time?
Absolutely! You can prepare the dough, wrap it tightly, and keep it in the fridge for up to 24 hours before you’re ready to roll and bake your Mini Lunchbox Pizzas.
What if I don’t have self-raising flour?
Simply mix 2 cups of plain flour with 3 teaspoons of baking powder to mimic self-raising flour. This swap works perfectly for the dough’s rise and texture.
Can I use other toppings instead of pepperoni?
Yes! Feel free to get creative. Sliced mushrooms, bell peppers, olives, or cooked sausage are all excellent alternatives that can change up the flavor profile while keeping things delicious.
Are these suitable for kids?
Definitely. These Mini Lunchbox Pizzas are perfectly sized for little hands, mild in flavor, and a great way to encourage kids to eat their lunch with excitement.
Can I make these gluten-free?
You can try substituting the self-raising flour with a gluten-free blend that includes raising agents. Just keep in mind that the texture might be a bit different but still tasty and worth experimenting with.
Final Thoughts
If you’re looking for a recipe that’s quick, fun, and irresistibly tasty, these Mini Lunchbox Pizzas are a perfect choice. They bring homemade charm to everyone’s favorite comfort food in an easy-to-manage size. Whether for lunchboxes, snacks, or casual get-togethers, give this recipe a go—you might just find your new go-to crowd-pleaser!
“`
PrintMini Lunchbox Pizzas Recipe

These Mini Lunchbox Pizzas are quick and easy to make with a simple self-raising flour and Greek yogurt dough. Topped with tomato paste, mozzarella, and pepperoni, they bake to golden perfection in just 12–14 minutes, making them an ideal snack or lunch option for kids and adults alike.
- Prep Time: 10 minutes
- Cook Time: 14 minutes
- Total Time: 24 minutes
- Yield: 8 mini pizzas 1x
- Category: Snack
- Method: Baking
- Cuisine: Italian-inspired
- Diet: Halal
Ingredients
Dough
- 2 cups (300 g) self-raising flour
- 1 cup (250 g) full-fat plain Greek yogurt
Toppings
- ⅓ cup (90 g) tomato paste (concentrated puree)
- 1 cup (125 g) freshly shredded mozzarella cheese
- ½ cup (80 g) pepperoni slices
Instructions
- Preheat the oven: Preheat your oven to 200°C (400°F) or 180°C (350°F) if using a fan-forced oven. Line a baking tray with parchment paper to prevent sticking.
- Make the dough: In a large bowl, combine the self-raising flour and Greek yogurt. Stir with a spoon until the mixture forms large flakes, then knead with your hands for about 1–2 minutes until a soft, elastic dough forms.
- Shape the pizzas: Lightly flour a surface and roll out the dough to about 1 cm (½ inch) thickness. Use a large mug or cookie cutter to cut out round shapes for your mini pizzas.
- Add toppings: Place the dough rounds on the prepared baking tray. Spread a thin layer of tomato paste evenly over each dough round, then sprinkle with shredded mozzarella. Top each pizza with slices of pepperoni.
- Bake: Bake in the preheated oven for 12–14 minutes, or until the dough turns golden brown and the cheese has melted and started to bubble.
- Cool and serve: Allow the mini pizzas to cool slightly on the baking tray before serving, making them easier to handle and enjoy.
Notes
- Using full-fat Greek yogurt helps achieve a soft and tender dough.
- If you prefer a vegetarian option, omit the pepperoni or substitute with vegetables like sliced olives or bell peppers.
- These mini pizzas are perfect for lunchboxes, snacks, or party platters.
- You can store any leftovers in an airtight container and reheat in the oven for best results.
- Be careful not to over-knead the dough to keep it light and fluffy.
Nutrition
- Serving Size: 1 mini pizza
- Calories: 190 kcal
- Sugar: 2 g
- Sodium: 320 mg
- Fat: 10 g
- Saturated Fat: 5.5 g
- Unsaturated Fat: 3 g
- Trans Fat: 0 g
- Carbohydrates: 18 g
- Fiber: 1 g
- Protein: 9 g
- Cholesterol: 25 mg
Keywords: mini pizzas, lunchbox recipe, kids snack, easy dough, homemade pizza, pepperoni pizza, quick snack


