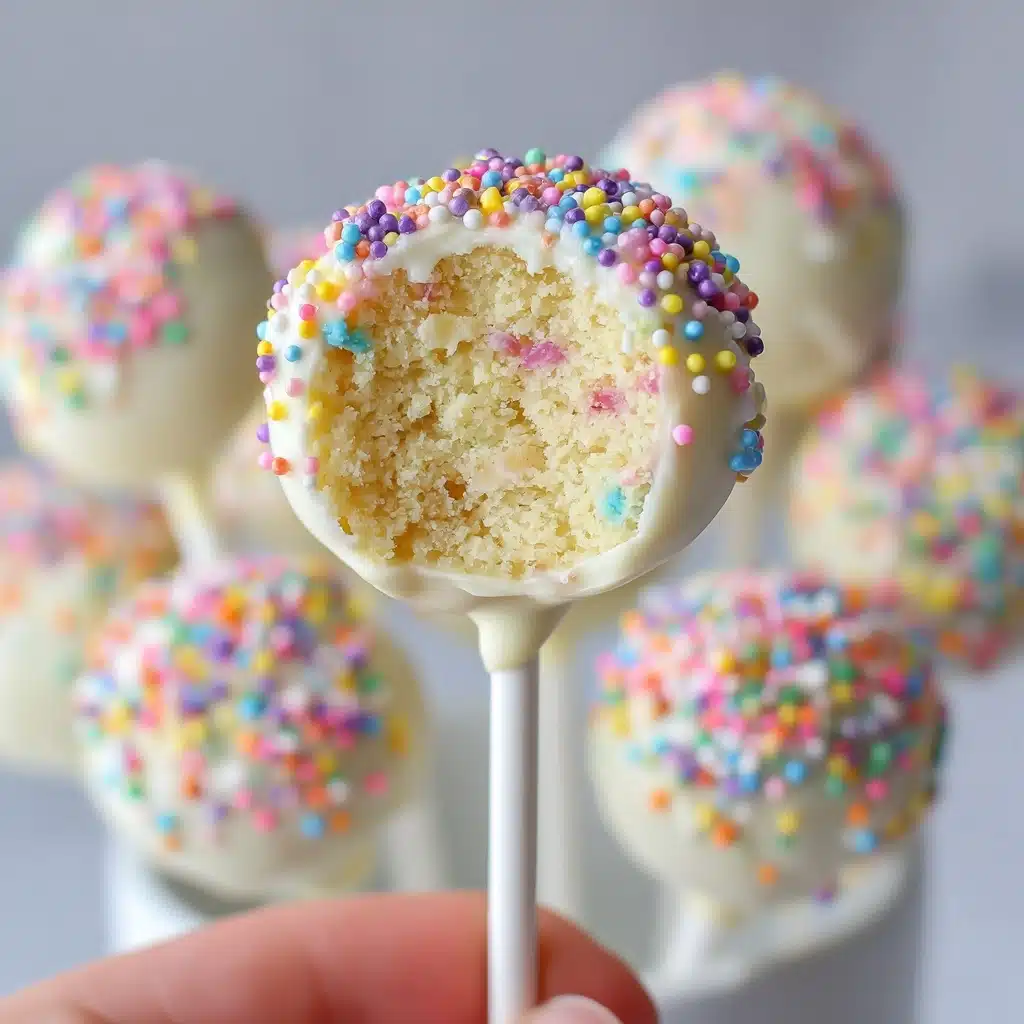
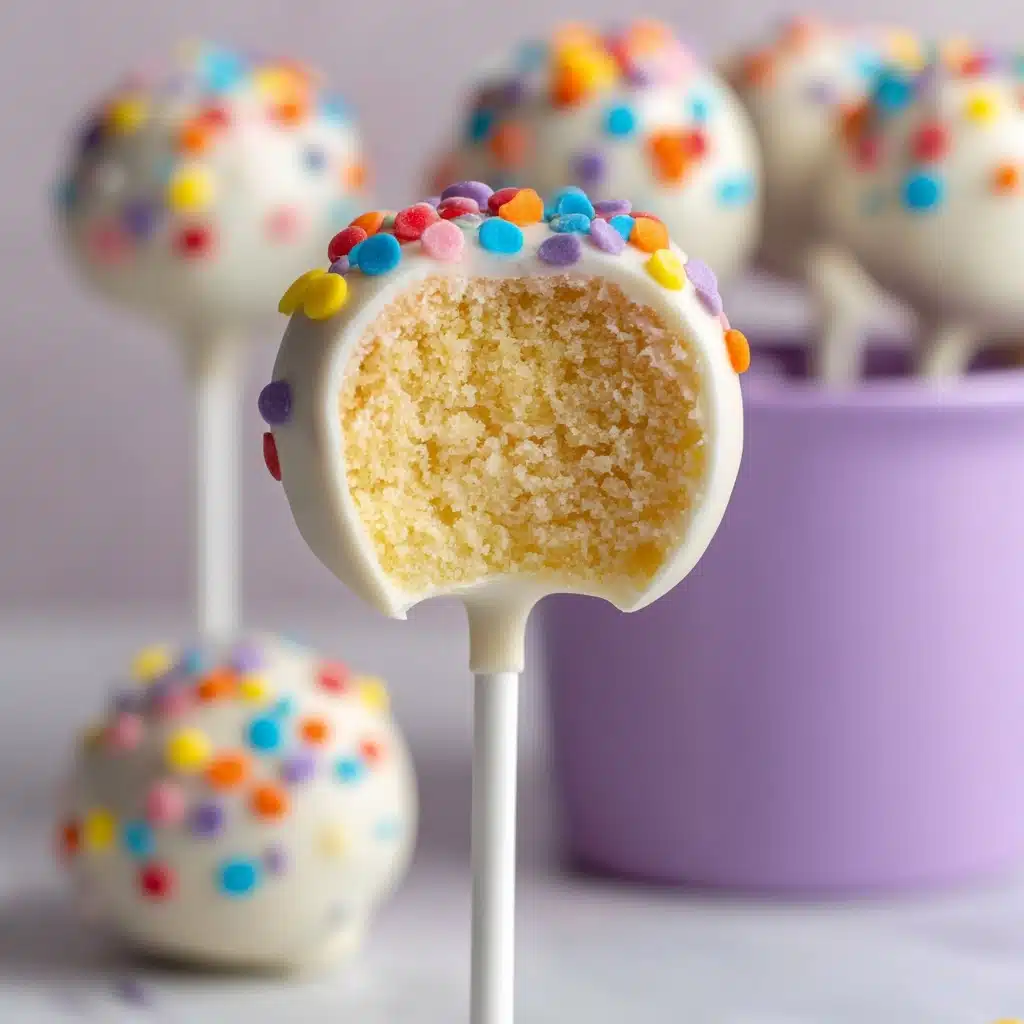
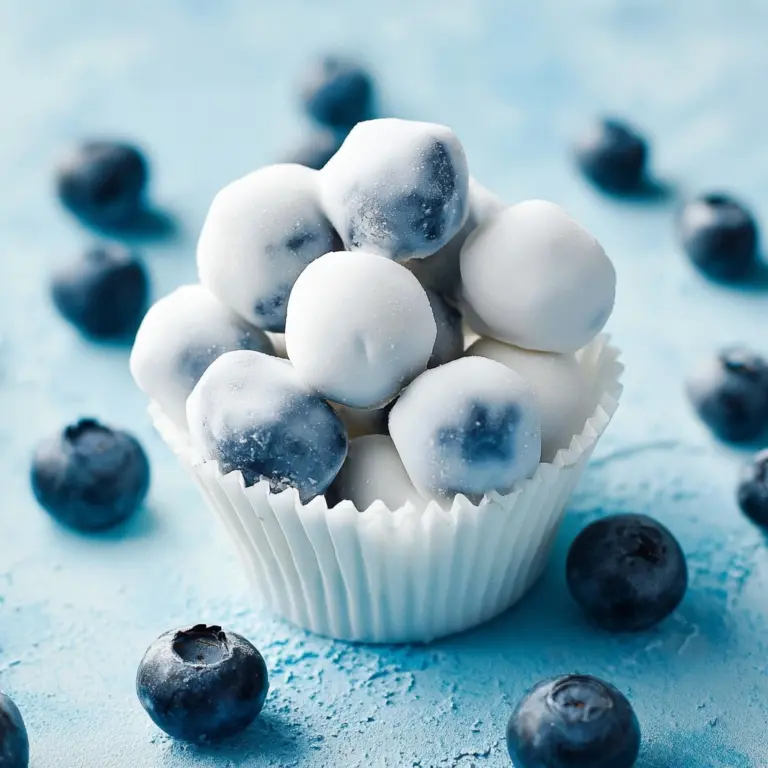
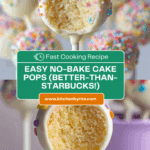
No-Bake Cake Pops (Better-Than-Starbucks) Recipe
Prepare yourself for pure, unfiltered joy: No-Bake Cake Pops (Better-Than-Starbucks) are about to become your new secret weapon for celebrations or sweet cravings, and they’re as easy to make as they are irresistible to eat. These cake pops are a nostalgic throwback to bakery cases and coffee shop counters, but with a homemade touch that bumps them into dessert hall-of-fame territory. In every bite, you get rich, tender cookie cake smothered in creamy white chocolate and playful sprinkles—no oven (or fuss) required!
Ingredients You’ll Need
The beauty of these No-Bake Cake Pops (Better-Than-Starbucks) is how the simplest ingredients come together for amazing taste and gorgeous results. Each component brings its own magic to the party, ensuring sweetness, creaminess, and that perfect candy-coated snap.
- Lofthouse frosted sugar cookies (13.5 oz.): The soft texture and gentle vanilla flavor are the backbone of these no-bake cake pops, so don’t swap these out if you want that iconic taste and melt-in-your-mouth texture.
- Cream cheese (8 oz., softened): This is what binds and flavors the cake pops, adding just the right amount of tang and lushness—room temperature cream cheese blends smoothly every time.
- White almond bark or candy melts (12 oz.): The essential shell! Almond bark melts beautifully and sets with a glossy finish, locking in all that deliciousness while adding a crave-worthy crunch.
- Rainbow nonpareil sprinkles: Not just for looks! They add a cheerful burst of color and a tiny crunch, making every pop a party on a stick.
- Lollipop sticks (36, 6-inch): These turn treats into adorable hand-held bites, and make for mess-free serving and fun presentations.
How to Make No-Bake Cake Pops (Better-Than-Starbucks)
Step 1: Prepare the Cake Pop Mixture
Start by combining the Lofthouse frosted sugar cookies and softened cream cheese in your stand mixer’s bowl (a hand mixer works too, if that’s what you have on hand). Blend on medium until the mixture transforms into a smooth, sticky dough—like the best mash-up of cookie dough and cheesecake. Scrape down the bowl as needed to make sure it’s all evenly mixed.
Step 2: Shape the Cake Pops
Using a tablespoon-sized cookie scoop, portion out the dough and roll each scoop between your hands to form even, rounded balls. The mixture is forgiving, so don’t worry if your technique isn’t bakery-worthy on the first try. Place each ball onto a sheet of wax or parchment paper for easy removal later (and easy cleanup!).
Step 3: Chill the Cake Balls
Pop the tray of rolled cake balls into the fridge for about an hour. This quick chill makes them much firmer—exactly what you want before moving on to the candy coating and stick-inserting steps. Trust me, patience here makes everything easier later.
Step 4: Prepare the Initial Candy Coating
Place about one quarter of your white almond bark or candy melts into a microwave-safe bowl and microwave for 60 seconds at 50% power. Stir until silky smooth; if there are stubborn bits, microwave in 10-second bursts at 50% until everything is completely melted.
Step 5: Attach the Sticks
Now for the fun part! Remove the chilled cake balls from the fridge. Dip the end of each lollipop stick about one inch into the melted candy coating, then insert that end into a cake ball. The thin layer of candy acts like delicious glue, anchoring the stick inside the ball. Once finished, refrigerate the newly “popped” cakes for another ten minutes to fully set the sticks.
Step 6: Prepare the Final Candy Coating
Add the rest of your almond bark (or candy melts) to the bowl and repeat the melting process: microwave on 50% power for a minute, then stir until smooth, zapping in short bursts if needed. This will be the beautiful, glossy shell that wraps your cake pops in sweetness.
Step 7: Coat and Decorate the Cake Pops
Hold a cake pop by its stick and dip it gently into the melted candy, fully submerging it for an even coating. Gently shake off any excess for a neat finish. Immediately sprinkle on the rainbow nonpareils while the coating is still wet. Place each finished pop on a stand or upright in a block of styrofoam so they can set without smudging their gorgeous shells.
Step 8: Immediate Enjoyment
Once the coating is hard and shiny—this usually takes just a few minutes—they’re ready to enjoy! You’ve just created No-Bake Cake Pops (Better-Than-Starbucks) that look and taste as delightful as any coffee shop treat… but with your special, loving touch.
How to Serve No-Bake Cake Pops (Better-Than-Starbucks)
Garnishes
Sprinkles are just the beginning! Consider extra drizzles of melted chocolate, edible glitter, or even themed sugar decorations for birthdays or holidays. A fun ribbon tied on each stick adds that perfect party flourish.
Side Dishes
Pair your No-Bake Cake Pops (Better-Than-Starbucks) with fresh fruit skewers, espresso drinks, or a platter of mini sandwiches for a whimsical dessert spread. Their sweet, creamy flavor balances beautifully with light, tangy sides like berries or citrusy salads.
Creative Ways to Present
Stick your pops upright in a block of foam, fill a vase with dried beans or candies to hold them in place, or display them bouquet-style for a centerpiece that doubles as dessert. For gift-giving, wrap individual pops in cellophane bags tied with twine for a thoughtful, homemade treat everyone is thrilled to receive.
Make Ahead and Storage
Storing Leftovers
Keep any leftover No-Bake Cake Pops (Better-Than-Starbucks) in an airtight container in the refrigerator for up to five days. Chilling preserves their texture and keeps the candy coating crisp. Just let them come to room temperature for a few minutes before serving to bring out the best flavor.
Freezing
Want to plan ahead? Freeze finished cake pops in a single layer on a baking sheet until solid, then transfer to zip-top freezer bags. They’ll keep for up to three months. When you’re ready to serve, thaw in the fridge or at room temperature (do not microwave or the coating may soften unevenly).
Reheating
No reheating necessary—these beauties are designed to be enjoyed chilled or at room temp. If you prefer a softer bite, let them sit out for fifteen minutes before indulging. Avoid microwaving or oven-heating to preserve that candy shell crunch.
FAQs
Can I use homemade sugar cookies instead of Lofthouse for these No-Bake Cake Pops (Better-Than-Starbucks)?
You can, but Lofthouse cookies are extra soft and cakey, giving that nostalgic bakery taste and ultra-smooth texture. Homemade cookies tend to be firmer, so your pops may turn out denser and less creamy—but still delicious if you love a little extra bite!
What’s the easiest way to get smooth, even candy coatings?
Make sure your melted almond bark is the right consistency: neither too thick nor too thin. Rolling the cake balls smooth beforehand and gently shaking off excess coating helps prevent drips and pooling for a perfect finish every time.
Can I use different candy melts or chocolates instead of almond bark?
Absolutely! Any candy melts or high-quality chocolate will work, but almond bark tends to set firmer and glossier. Just make sure to melt whatever coating you choose gently and stir until completely lump-free before dipping.
I don’t have a stand mixer. Can I make No-Bake Cake Pops (Better-Than-Starbucks) by hand?
Yes, you can! While a stand or hand mixer makes the blending easier, you can break up the cookies into crumbs and mix with cream cheese using a sturdy spoon or your clean hands. It takes a little more arm power, but the results are well worth it.
How do I keep the sticks from falling out of the finished cake pops?
The trick is dipping the sticks in melted candy before inserting them into the cake balls and chilling briefly afterward. This “glues” the stick inside as the coating hardens, so your pops stay secure from first bite to last.
Final Thoughts
Once you’ve made No-Bake Cake Pops (Better-Than-Starbucks), you’ll wonder where this recipe has been your whole life. They’re impossibly soft, totally customizable, and simply delightful to share. Don’t wait for a special occasion—gather your ingredients, invite a friend, and let the cake pop magic begin!
PrintNo-Bake Cake Pops (Better-Than-Starbucks) Recipe

These No-Bake Cake Pops are a delightful treat that rivals those from your favorite coffee shop. With a few simple ingredients and easy steps, you can create these Better-Than-Starbucks cake pops in no time.
- Prep Time: 30 minutes
- Cook Time: 0 minutes
- Total Time: 1 hour 40 minutes
- Yield: 36 cake pops 1x
- Category: Dessert
- Method: No-Bake
- Cuisine: American
- Diet: Vegetarian
Ingredients
Cake Pop Mixture:
- 13.5 oz. Lofthouse frosted sugar cookies
- 8 oz. Cream Cheese, softened
Candy Coating and Decoration:
- 12 oz. white almond bark or candy melts
- Rainbow nonpareil sprinkles
- 36 6″ lollipop sticks
Instructions
- Prepare the Cake Pop Mixture: Place cookies and cream cheese in a mixing bowl. Blend until smooth.
- Shape the Cake Pops: Scoop mixture, roll into balls, and place on a lined surface.
- Chill the Cake Balls: Refrigerate for an hour.
- Prepare the Initial Candy Coating: Melt and stir white almond bark.
- Attach the Sticks: Dip sticks, insert into cake balls, and chill.
- Prepare the Final Candy Coating: Melt remaining candy.
- Coat and Decorate the Cake Pops: Dip cake pops, shake off excess, add sprinkles, and let harden.
- Immediate Enjoyment: Serve once coating hardens.
Notes
- You can customize the sprinkles to suit different occasions.
- For a richer flavor, consider using chocolate almond bark.
Nutrition
- Serving Size: 1 cake pop
- Calories: 150
- Sugar: 12g
- Sodium: 90mg
- Fat: 9g
- Saturated Fat: 5g
- Unsaturated Fat: 3g
- Trans Fat: 0g
- Carbohydrates: 15g
- Fiber: 0g
- Protein: 2g
- Cholesterol: 10mg
Keywords: No-Bake Cake Pops, Cake Pops, Dessert, Easy Dessert Recipe