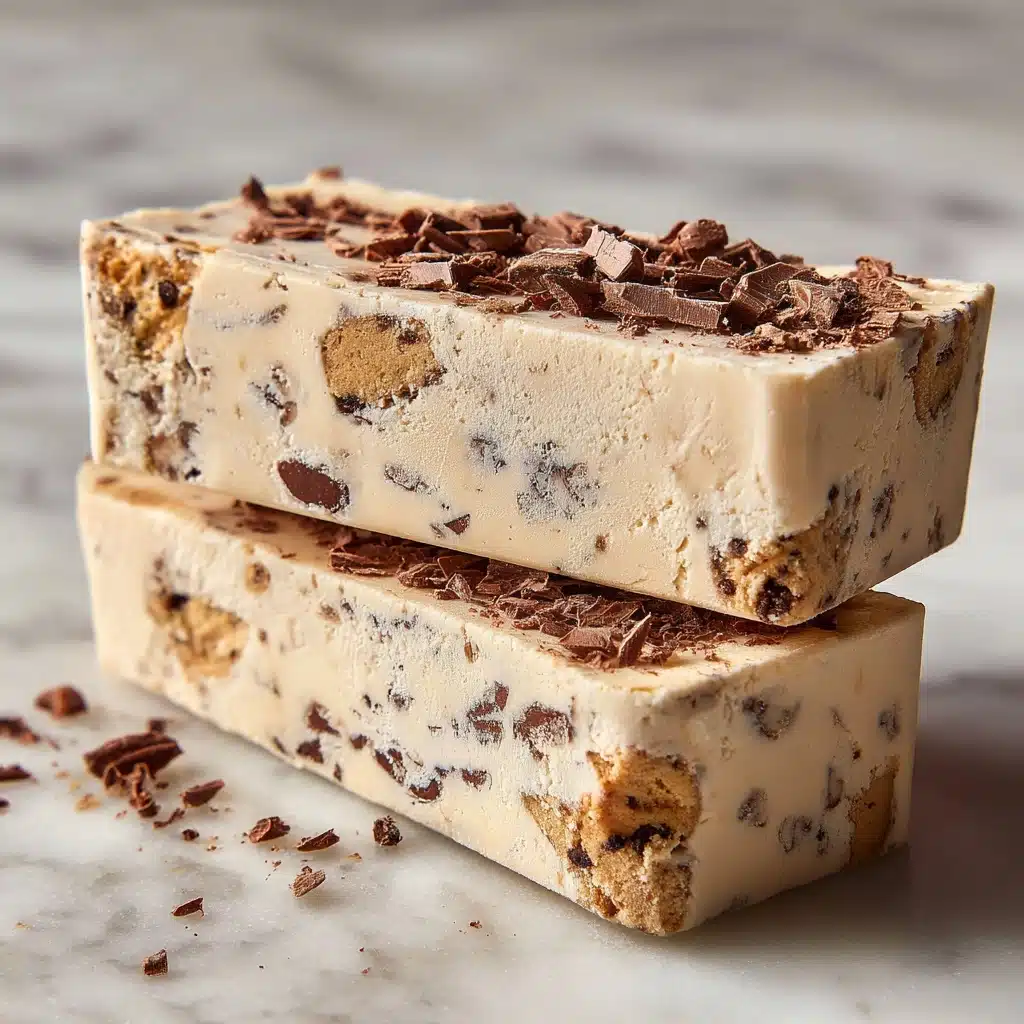
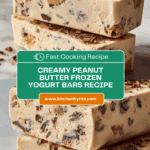
Peanut Butter Frozen Yogurt Bars Recipe
If you’re searching for a no-bake treat that manages to be creamy, nutty, and nourishing all at once, look no further than these Peanut Butter Frozen Yogurt Bars. This crave-worthy dessert (or snack!) brings together the tang and silkiness of Greek yogurt with the deep, roasty flavor of peanut butter, all lightly sweetened and studded with crunchy, chocolatey surprises. Whether you make these as a midday pick-me-up or a healthy after-dinner bite, you’ll be amazed at how satisfying and simple this recipe is.
Ingredients You’ll Need
One of the best parts about Peanut Butter Frozen Yogurt Bars is that every ingredient has a starring role. There are no lengthy grocery lists or hard-to-find specialty items—just wholesome, delicious basics that come together for a dreamy combination of flavors and textures.
- Greek Yogurt: Creamy, protein-packed, and a little tangy, this forms the luscious, velvety base for the bars.
- Natural Peanut Butter: Go for a good, runny peanut butter for easy mixing and a rich, nutty flavor that shines through.
- Honey or Maple Syrup: Adds subtle sweetness and keeps the bars soft enough to slice while frozen; honey gives floral notes, maple is deeper and caramelized.
- Vanilla Extract: Just a teaspoon brings warmth and rounds out the flavors with a classic aromatic note.
- Chocolate Chips (optional): For those who love a little chocolate, these offer perfect pops of sweetness and fun.
- Chopped Peanuts (optional): A bit of crunch and extra peanutty flair makes each bite more interesting.
How to Make Peanut Butter Frozen Yogurt Bars
Step 1: Prepare the Ingredients
Begin by assembling everything you need on the counter. Take your Greek yogurt out of the fridge a little early so it comes up to room temperature—this makes it smoother to combine with peanut butter, preventing any lumps or streaks. Gather your optional add-ins and line your baking dish for easy cleanup and even easier bar removal later.
Step 2: Mix the Base
In a roomy bowl, scoop in your Greek yogurt, natural peanut butter, honey or maple syrup, and vanilla extract. Using a sturdy spoon or spatula, stir enthusiastically until everything is blended into a uniform, creamy mixture. The peanut butter should melt right into the yogurt, and you’ll notice a gorgeous, pale caramel color. Take a moment to admire how good it smells!
Step 3: Add Mix-Ins
This is where the Peanut Butter Frozen Yogurt Bars become truly customizable. If you love bursts of chocolate or crave a salty crunch, gently fold in chocolate chips and chopped peanuts. You’ll want to mix just enough to scatter them throughout—too much stirring and you might lose some of their texture.
Step 4: Pour into Mold
Line a loaf pan or square baking dish with parchment paper, letting extra paper hang over the edges for lifting later. Pour in your yogurt mixture and spread it evenly with a spatula, smoothing the top so the bars look as gorgeous as they taste. This little bit of care makes slicing and serving a dream.
Step 5: Freeze
Cover the pan tightly with plastic wrap or foil to prevent freezer tastes from sneaking in. Slide it into the freezer and let the magic happen—at least 4 hours is a must, but overnight is even better. The wait is the hardest part, but the anticipation only makes those first chilly bites more exciting.
Step 6: Slice and Serve
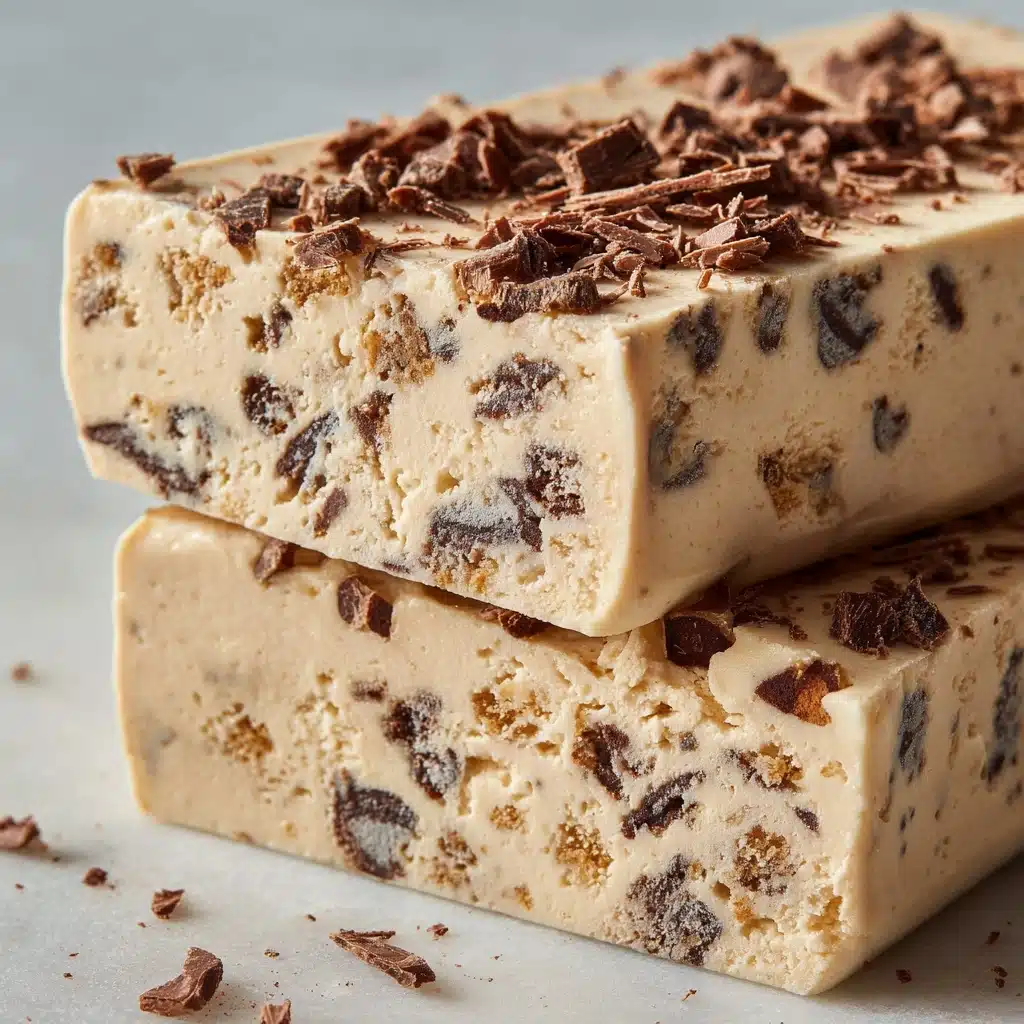
Once the bars are completely set, grab the parchment paper overhang and gently lift the slab from the pan. Place it onto a cutting board, then slice into bars or squares using a sharp knife. Serve these beauties straight from the freezer and relish the experience—a perfectly cool, creamy snack with just the right balance of sweet, nutty, and tangy flavors.
How to Serve Peanut Butter Frozen Yogurt Bars
Garnishes
Sometimes a little extra touch makes all the difference. Try sprinkling the tops with flaked sea salt for contrast, a dusting of cocoa powder for drama, or an extra drizzle of melted chocolate. Crushed freeze-dried berries or a few extra chopped peanuts on top also add a pop of color and texture that is truly irresistible.
Side Dishes
If you want to round out your snack or dessert, these bars play well with others. Serve them alongside fresh summer berries, a tall glass of iced coffee, or a small cup of espresso. Even better, pair them with a platter of sliced apples or a fruit salad for a nourishing, bright spread that looks stunning for brunch or an afternoon get-together.
Creative Ways to Present
You don’t have to stick to simply cutting bars! Try slicing them into bite-sized cubes and threading them onto skewers with fruit, or sandwich two pieces with a thin layer of jam for a frozen PB&J twist. For parties, serve on a colorful platter with little cocktail picks or even alongside mini bowls of melted chocolate and crushed nuts so guests can dip as they wish.
Make Ahead and Storage
Storing Leftovers
After you’ve satisfied your sweet tooth, any leftover Peanut Butter Frozen Yogurt Bars can be tucked back into a freezer-safe container. Place a sheet of parchment or wax paper between layers so they don’t stick together. They’ll keep their flavor and texture for about two weeks—if they last that long!
Freezing
Since these bars are made to live in the freezer, there’s no special technique needed. Just keep them tightly sealed or covered so they don’t pick up any stray odors. For meal-preppers and planners, you can even make a double batch to stash away for busy days when you need an instant treat.
Reheating
No actual reheating required, but it helps to let the bars sit at room temperature for 2–3 minutes before serving so they soften slightly. This little wait makes the flavors bloom and the texture even creamier—worth the brief pause before you dive in.
FAQs
Can I use a non-dairy yogurt for these bars?
Absolutely! Coconut or almond-based yogurts work beautifully. Just make sure your dairy-free yogurt is thick and unsweetened to mimic the texture and flavor of Greek yogurt for the best results in your Peanut Butter Frozen Yogurt Bars.
What’s the best way to cut the bars without cracking?
Use a sharp knife dipped in hot water and wiped dry for the cleanest cuts. Let the bars sit at room temperature for a minute or two if they’re extra frozen, then slice gently for picture-perfect pieces.
Can I make these bars without sweetener?
If you prefer a less sweet treat, try omitting the honey or syrup, or add just a minimal amount to taste. The natural flavors of the yogurt and peanut butter can shine through, especially if you add naturally sweet mix-ins like chopped dates or dried fruit.
How can I prevent freezer burn?
Keep your Peanut Butter Frozen Yogurt Bars tightly wrapped with plastic or stored in an airtight container. For longer storage, double-wrap with foil or use a container with a snug-fitting lid to keep them tasting as fresh as day one.
Can I double the recipe for a larger batch?
Definitely! Simply double the ingredients and use a 9×13-inch pan or two loaf pans, following the same instructions. It’s a great idea if you’re planning to serve a crowd or know these bars will disappear fast.
Final Thoughts
I can’t recommend these Peanut Butter Frozen Yogurt Bars enough for anyone looking for a delightful, nourishing treat that’s a joy to make and to eat. Once you try this recipe, you’ll see just how easy it is to whip up a freezer full of happiness. Give them a try—your future self will be grateful every time you reach for one!
PrintPeanut Butter Frozen Yogurt Bars Recipe
These Peanut Butter Frozen Yogurt Bars are a delightful frozen treat that combines the creaminess of Greek yogurt with the nutty richness of peanut butter. They are sweetened with honey and can be customized with optional chocolate chips and chopped peanuts for added texture and flavor.
- Prep Time: 15 minutes
- Cook Time: 0 minutes
- Total Time: 4 hours 15 minutes
- Yield: 12 bars 1x
- Category: Dessert
- Method: Freezing
- Cuisine: American
- Diet: Vegetarian
Ingredients
Base:
- 2 cups Greek yogurt
- 1/2 cup natural peanut butter
- 1/4 cup honey or maple syrup
- 1 teaspoon vanilla extract
Optional Mix-Ins:
- 1/4 cup chocolate chips
- 1/4 cup chopped peanuts
Instructions
- Prepare the Ingredients: Start by gathering all your ingredients. Make sure your Greek yogurt is at room temperature for easier mixing.
- Mix the Base: In a large bowl, combine the Greek yogurt, natural peanut butter, honey (or maple syrup), and vanilla extract. Stir until the mixture is smooth and well combined. The peanut butter should be fully incorporated into the yogurt.
- Add Mix-Ins: If using, fold in the chocolate chips and chopped peanuts. Mix gently to ensure they’re evenly distributed throughout the yogurt mixture.
- Pour into Mold: Line a loaf pan or an 8×8-inch baking dish with parchment paper, leaving some overhang on the sides for easy removal. Pour the yogurt mixture into the prepared pan, smoothing the top with a spatula.
- Freeze: Cover the pan with plastic wrap or aluminum foil and place it in the freezer. Freeze for at least 4 hours, or until the mixture is firm. For best results, freeze overnight.
- Slice and Serve: Once the yogurt mixture is frozen solid, use the parchment paper to lift it out of the pan. Place it on a cutting board and slice it into bars. Serve immediately and enjoy your cool, creamy treat!
Notes
- You can customize these bars by adding your favorite mix-ins such as dried fruit, nuts, or granola.
- For a vegan version, use dairy-free yogurt and maple syrup as a sweetener.
Nutrition
- Serving Size: 1 bar
- Calories: 180
- Sugar: 11g
- Sodium: 75mg
- Fat: 10g
- Saturated Fat: 2g
- Unsaturated Fat: 6g
- Trans Fat: 0g
- Carbohydrates: 16g
- Fiber: 1g
- Protein: 8g
- Cholesterol: 5mg
Keywords: Peanut Butter Frozen Yogurt Bars, Frozen Yogurt Bars, Homemade Frozen Bars, Peanut Butter Dessert