Quick Monster Cookie Protein Balls Recipe
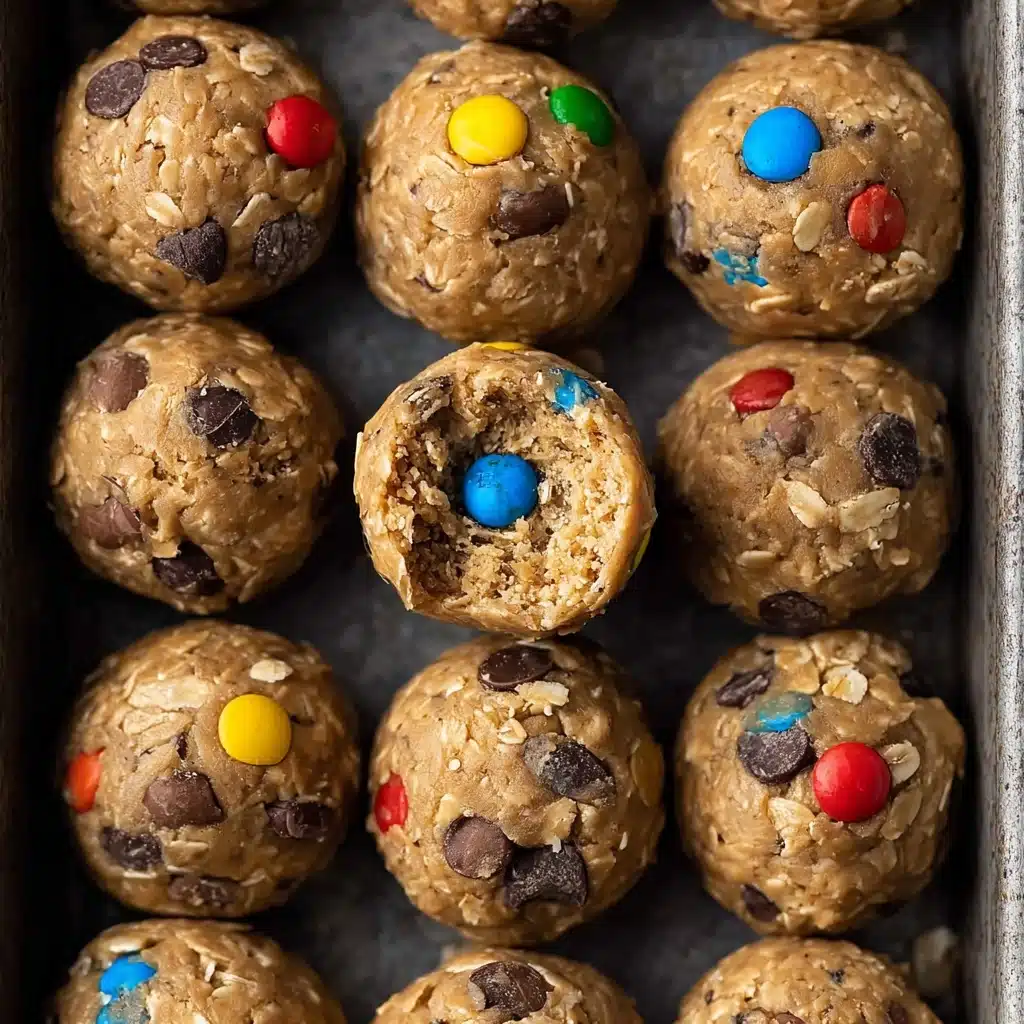
If you’re searching for a treat that satisfies your sweet tooth, fuels your day, and takes almost no time to whip up, these Quick Monster Cookie Protein Balls deserve a spot in your snack lineup. Imagine chewy oats, creamy peanut butter, bursts of chocolate, and pops of colorful candies brought together in delightful little bites—it’s like all your cookie dreams meeting your fitness goals. One bowl, zero fuss, and pure joy in every bite, this recipe blends classic monster cookie flavors with protein power, making it a favorite for kids, adults, and anyone who just loves a quick win in the kitchen.
Ingredients You’ll Need
What makes Quick Monster Cookie Protein Balls so magical is how a short list of everyday pantry staples creates treats that are endlessly craveable. Each ingredient brings its own special touch, creating a perfectly balanced, no-bake snack that feels both nostalgic and nourishing.
- Peanut Butter: Acts as the rich, creamy base—opt for natural, smooth styles for easy mixing and healthy fats.
- Vanilla Protein Powder: Delivers a sweet boost of protein, helping to keep you full and adding a touch of vanilla essence.
- Rolled Oats: Classic oatmeal cookie texture and a wholesome chew in every bite.
- Chia Seeds: Tiny but mighty, they pack extra fiber and a bit of pleasant crunch.
- Honey: Natural sweetness that helps bind the balls and gives subtle floral notes.
- Vanilla Essence: Enhances the overall flavor, making the balls taste just like cookies.
- Salt: Just a pinch lifts and balances the sweetness for true cookie shop vibes.
- Mini Chocolate Chips: Chocolate in every bite—need we say more?
- Mini Candies (such as m&ms): Adds playful color and crunch that’s irresistible (great for little helpers, too!).
- Water (1–4 teaspoons, optional): Adjusts the dough consistency, so it’s just right for rolling and not crumbly.
How to Make Quick Monster Cookie Protein Balls
Step 1: Gather and Combine All Ingredients
Start by making sure every ingredient for your Quick Monster Cookie Protein Balls is right within reach—prepping is a breeze when everything’s ready to go. Add the peanut butter, protein powder, rolled oats, chia seeds, honey, vanilla essence, salt, mini chocolate chips, and mini candies directly into a medium mixing bowl. This all-in-one step ensures that each bite will have a little bit of everything. No need to overthink it: just pile all those goodies together and get ready for some hands-on fun!
Step 2: Mix Thoroughly and Adjust Dough Consistency
Use a sturdy wooden spoon, spatula, or your hands (there’s no shame in getting a bit messy) to mix everything together. The goal is to bring it to a sticky, thick dough that holds together well. If the mixture seems dry or crumbly, add water one teaspoon at a time. Depending on your peanut butter’s consistency, you might use anywhere from one to four teaspoons. The dough should be moist but not wet, just enough to form into smooth balls without sticking all over your hands. Trust your instincts—the tastier, the better!
Step 3: Shape into Bite-Sized Balls
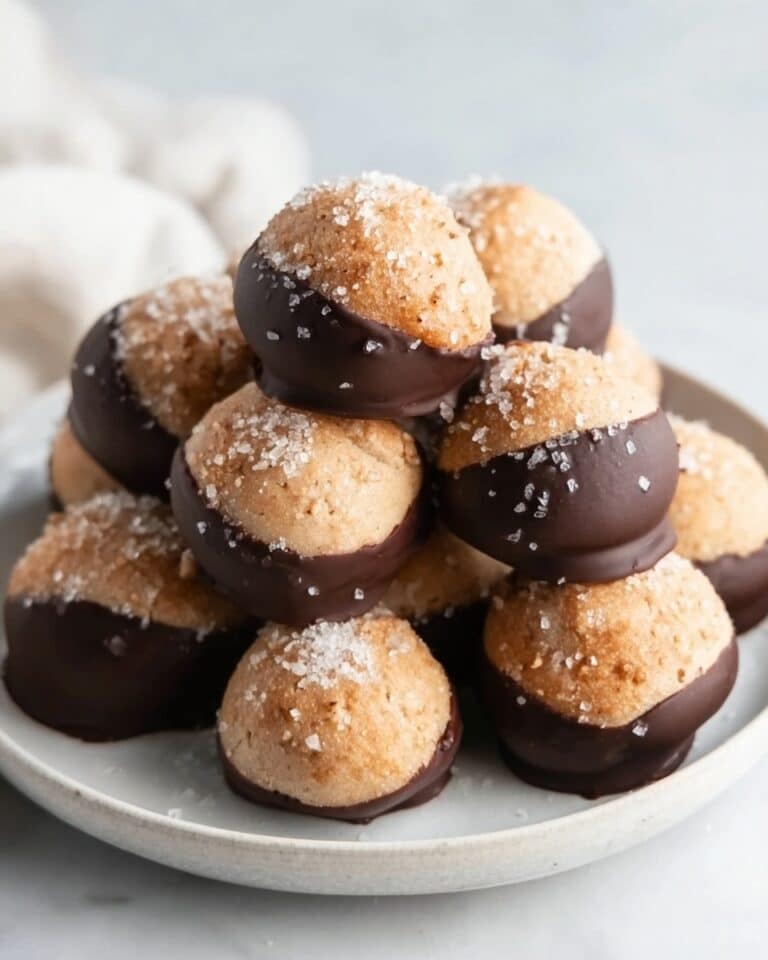
Once the dough’s just right, grab a tablespoon or a small cookie scoop to portion the dough. This keeps all the Quick Monster Cookie Protein Balls roughly the same size—which looks great and makes for even snacking. Roll each portion gently between your palms till they’re round and smooth. Not only is this part oddly satisfying, but you’ll end up with about 14-16 perfect, colorful little bites to share (or not—it’s up to you!).
Step 4: Store and Savor
Place your finished protein balls in a single layer in an airtight container. Pop them in the fridge, and they’ll be ready whenever you need a snack that’s equal parts fun and filling. For extra-long storage, simply freeze them; they keep their texture beautifully and thaw quickly, ready to grab at a moment’s notice. Whether you stash them overnight or keep them for weeks, they’re as tasty on day one as they are on day seven—or seventy!
How to Serve Quick Monster Cookie Protein Balls
Garnishes
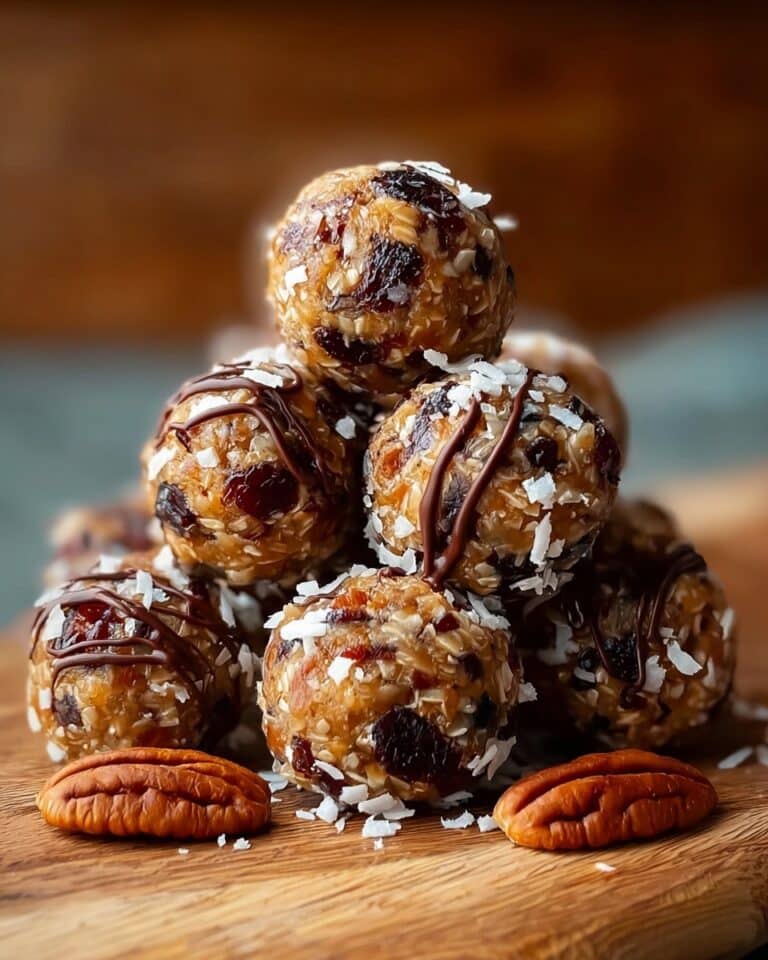
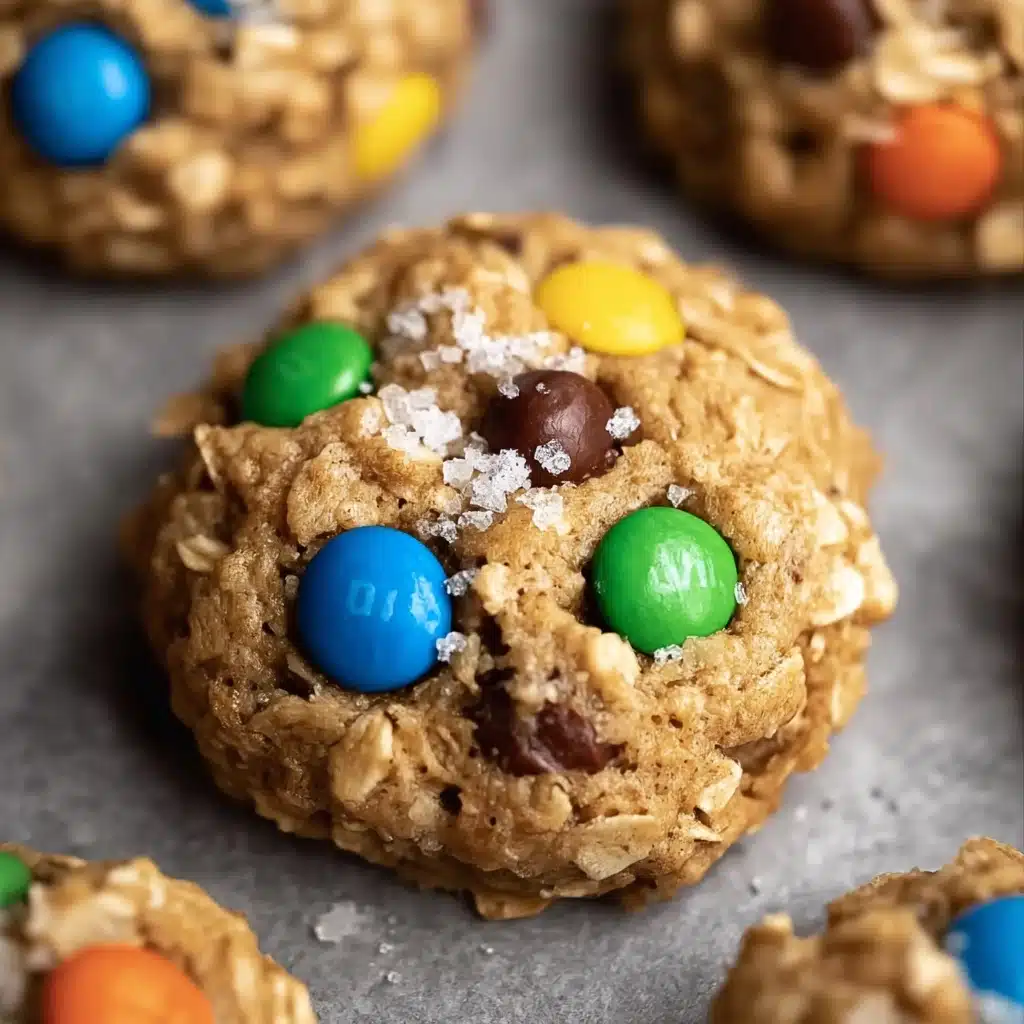
For an extra pop of charm, roll your protein balls in crushed nuts, coconut flakes, or a light dusting of cocoa powder before serving. Sprinkle a few more mini candies or chocolate chips on top for added eye-catching appeal. The fun colors and textures turn a simple snack into an instant celebration, whether you’re serving a crowd or just treating yourself.
Side Dishes
Pair Quick Monster Cookie Protein Balls with cold milk, iced coffee, or a fruity smoothie for a quick breakfast or snack. They’re also perfect alongside fresh fruit or a small yogurt parfait for a more balanced mini meal. These little bites hold their own but love a good sidekick, especially when eaten on the go or shared during a busy afternoon.
Creative Ways to Present
Want to make your protein balls party-ready? Arrange them pyramid-style on a platter, tuck them into colorful cupcake liners, or skewer them on sticks for a playful dessert kebab. Homemade gift? Stack a few in a clear jar or cellophane bag, tie with a ribbon, and add a handwritten note—they make dreamy thank-you gifts for teachers, friends, or fitness buddies!
Make Ahead and Storage
Storing Leftovers
Keep any uneaten Quick Monster Cookie Protein Balls in a tightly sealed container in the fridge. They’ll stay fresh and chewy for a full week, maintaining their flavors and keeping that just-made feel. They make excellent grab-and-go treats for school lunches, office snacks, or weeknight cravings.
Freezing
For longer storage, simply place your protein balls in a freezer-safe container or zip-top bag. Separate the layers with parchment paper if you’d like to prevent sticking. They’ll be good for up to 3 months in the freezer, always ready to satisfy your cookie cravings with a simple thaw—or even straight from the cold for an extra-fudgy bite.
Reheating
No reheating is necessary for these treats! If you prefer them at room temperature or want to soften them a bit after refrigeration or freezing, just let them sit on the counter for about 10 minutes. They’ll quickly come back to their chewy, snackable best.
FAQs
Can I use a different nut butter instead of peanut butter?
Absolutely! Almond butter, cashew butter, or even sunflower seed butter are delicious substitutions in Quick Monster Cookie Protein Balls. Each brings its own flavor twist, so feel free to experiment with what you have on hand or any allergies you’re working around.
Is there a way to make these vegan?
You sure can—swap the honey for maple syrup or agave nectar and use vegan protein powder and dairy-free chocolate chips and candies. The texture and flavor remain wonderful, and everyone gets to enjoy a batch!
What kind of protein powder works best?
Vanilla-flavored protein powder is recommended for its subtle sweetness, but you can use chocolate or even unflavored varieties if you like. If your powder is particularly absorbent or chalky, just adjust with an extra splash of water to keep the dough smooth and easy to roll.
Can I make these gluten free?
Yes! Use certified gluten-free oats and double-check your other ingredients to ensure everything’s safe for a gluten-free diet. All the chewy, chocolate-packed enjoyment remains—just allergen-friendly!
Are these good for meal prep?
Quick Monster Cookie Protein Balls are a meal-prep superstar. Make a double batch on Sunday, stash them in the fridge or freezer, and enjoy protein-packed, cookie-flavored bites every single day—no extra effort required throughout the week.
Final Thoughts
Ready to treat yourself to something that’s as fun to make as it is to eat? Quick Monster Cookie Protein Balls come together in minutes and keep you fueled (and smiling) all week long. Give them a try—you might just find yourself happily whipping up another batch before the first disappears!
PrintQuick Monster Cookie Protein Balls Recipe
These Quick Monster Cookie Protein Balls are a delicious and nutritious snack packed with protein and flavor. They are easy to make and perfect for a quick energy boost during the day.
- Prep Time: 15 minutes
- Cook Time: 0 minutes
- Total Time: 15 minutes
- Yield: 14–16 balls 1x
- Category: Snack
- Method: Mixing
- Cuisine: American
- Diet: Vegetarian
Ingredients
Main Ingredients:
- 1 cup smooth natural peanut butter
- 1/3 cup vanilla-flavored protein powder
- 1/2 cup rolled oats
- 1 tablespoon chia seeds
- 2 tablespoons honey
- 1 teaspoon vanilla essence
- 1/4 teaspoon salt
- 1/4 cup mini chocolate chips
- 1/4 cup mini candies (such as M&Ms)
Optional:
- 1–4 teaspoons water
Instructions
- Step 1: Combine Ingredients – In a medium bowl, combine peanut butter, protein powder, rolled oats, chia seeds, honey, vanilla extract, salt, chocolate chips, and candies. Ensure all ingredients are accessible for easy mixing.
- Step 2: Mix and Adjust Consistency – Mix the ingredients to form a dough. Gradually add water to achieve desired consistency based on the peanut butter texture. Water helps moisten the dough for better shaping.
- Step 3: Shape the Dough into Balls – Use a scoop to portion out the dough and roll it into balls. Aim for 14-16 balls.
- Step 4: Store and Enjoy – Store the balls in an airtight container in the fridge for up to a week or freeze for up to 3 months. Enjoy chilled or at room temperature.
Notes
- You can customize these protein balls by adding nuts, dried fruits, or other mix-ins of your choice.
- Adjust the sweetness by varying the amount of honey or using sweetened protein powder.
Nutrition
- Serving Size: 1 ball
- Calories: 130
- Sugar: 6g
- Sodium: 100mg
- Fat: 8g
- Saturated Fat: 2g
- Unsaturated Fat: 5g
- Trans Fat: 0g
- Carbohydrates: 10g
- Fiber: 2g
- Protein: 6g
- Cholesterol: 0mg
Keywords: Monster Cookie Protein Balls, Energy Balls, Protein Snack, Quick Snack Recipe

