Snowball Cake Recipe
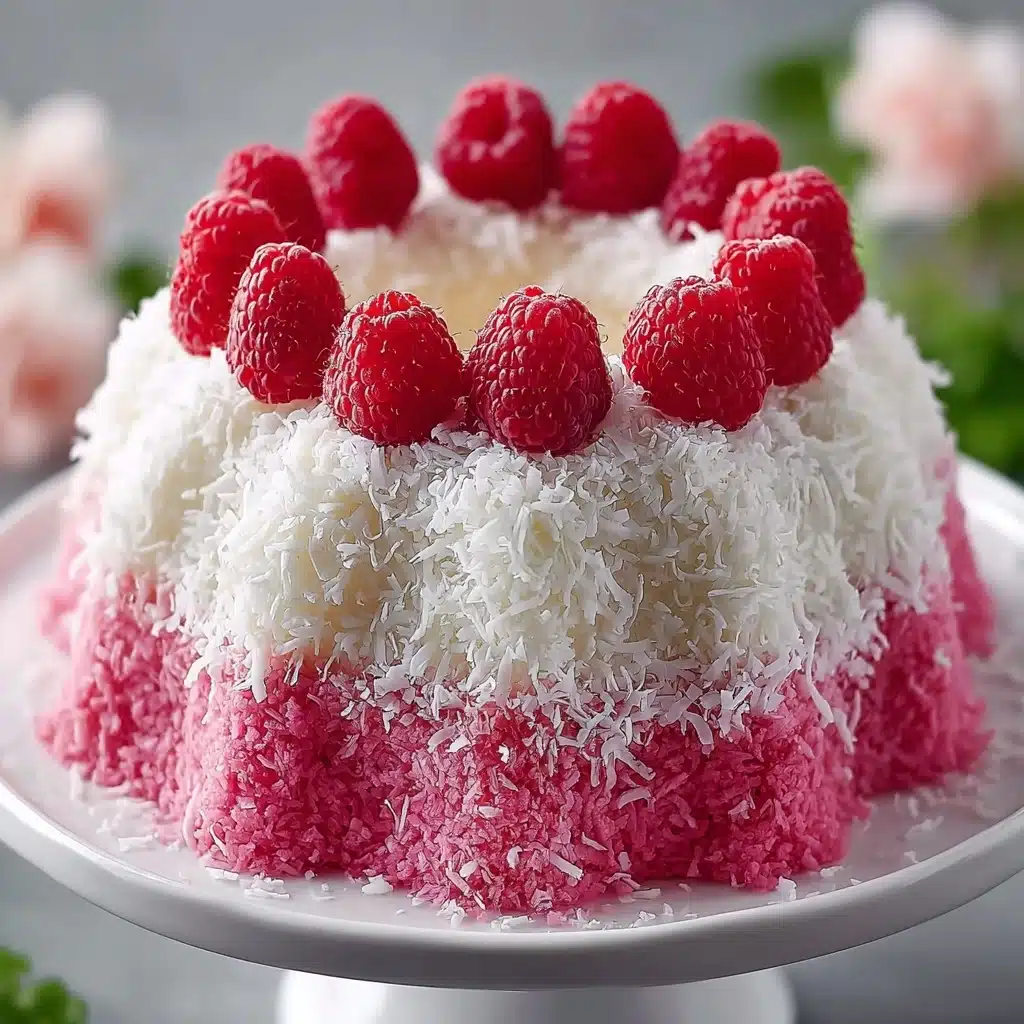
This Snowball Cake is an irresistible raspberry coconut dessert that truly lives up to its name. Imagine biting into a cake that’s tender and buttery, with a dreamy swirl of tangy raspberry preserves at its heart, all wrapped in a blizzard of sweet, snowy coconut. It’s a showstopper that’s surprisingly simple to make, and it’s bound to delight at birthdays, holidays, or any occasion that needs something a little bit magical. With its dome shape and dusting of powdered sugar, this cake looks as enchanting as it tastes!
Ingredients You’ll Need
Each ingredient here is carefully chosen to create a cake that’s light, flavorful, and festive. You probably have most of them already! From the tropical lift of coconut to the classic touch of vanilla, every element plays a key role in giving the Snowball Cake its character.
- All-purpose flour: The foundation of the cake, lending just the right texture and structure for a perfect slice every time.
- Baking powder: Ensures your Snowball Cake rises beautifully, making it fluffy and light.
- Salt: A pinch wakes up all the sweet flavors and balances the richness.
- Unsalted butter (room temperature): Creamed to perfection for a moist, rich crumb that’s never greasy.
- Granulated sugar: Adds the essential sweetness and helps the cake bake up golden and tender.
- Large eggs: Bind everything together and add richness; make sure they’re at room temperature.
- Vanilla extract: A dash brings warmth and an inviting aroma that fills your kitchen.
- Whole milk: Keeps the crumb soft and adds a gentle creaminess that carries all the flavors.
- Raspberry preserves (slightly warmed): The star swirl, providing bursts of tangy berry flavor in every slice.
- Sweetened shredded coconut: The iconic “snowball” finishing touch, adding both flavor and irresistible texture.
- Powdered sugar (optional): For a final, enchanting dusting—just like fresh-fallen snow!
How to Make Snowball Cake
Step 1: Prepare Your Pan and Oven
Set yourself up for cake success by preheating your oven to 350°F (175°C). Grease a 10-cup dome-shaped pan or a large oven-safe bowl, then dust it with flour to ensure your Snowball Cake releases perfectly. This unique shape is what gives the cake its signature snowball look!
Step 2: Mix the Dry Ingredients
In a bowl, whisk together the all-purpose flour, baking powder, and salt. Whisking not only combines but also aerates the mixture—an easy trick that makes the cake lighter. Set it aside while you work on the next part.
Step 3: Cream Butter and Sugar
In a separate large bowl, beat your room-temperature butter with granulated sugar until it’s light, fluffy, and pale. This is the stage that makes the Snowball Cake so tender. Add the eggs one at a time, mixing thoroughly after each, then stir in the vanilla extract to make everything extra aromatic.
Step 4: Combine Wet and Dry Ingredients
Now, alternate adding the dry mixture and milk to the creamed butter mixture, beginning and ending with the flour. Mix each addition just until incorporated—overmixing can make the crumb tough, so gentle is the way to go here.
Step 5: Add Raspberry Swirl
Pour half the batter into your prepared pan. Spoon the warmed raspberry preserves over this layer; don’t worry if it’s a little rustic. Add the remaining batter on top, then take a knife or skewer and gently swirl the layers—a mesmerising moment as the raspberry winds through the cake!
Step 6: Bake and Cool
Pop your pan in the oven and bake for 45 to 55 minutes. It’s done when a toothpick inserted in the center comes out clean or with just a crumb or two. Allow the cake to cool for 10 minutes in the pan, then carefully invert onto a wire rack and let it cool completely. This step is essential for the perfect texture and for handling the cake with ease as you finish it.
Step 7: Create the Snowball Effect
If your cake needs a little help with stickiness, brush it lightly with water or a simple syrup. Then take handfuls of sweetened shredded coconut and press them all over the cake—get every curve and crevice coated! For the pièce de résistance, sift a snowy shower of powdered sugar over the top. Slice and serve your glorious Snowball Cake!
How to Serve Snowball Cake
Garnishes
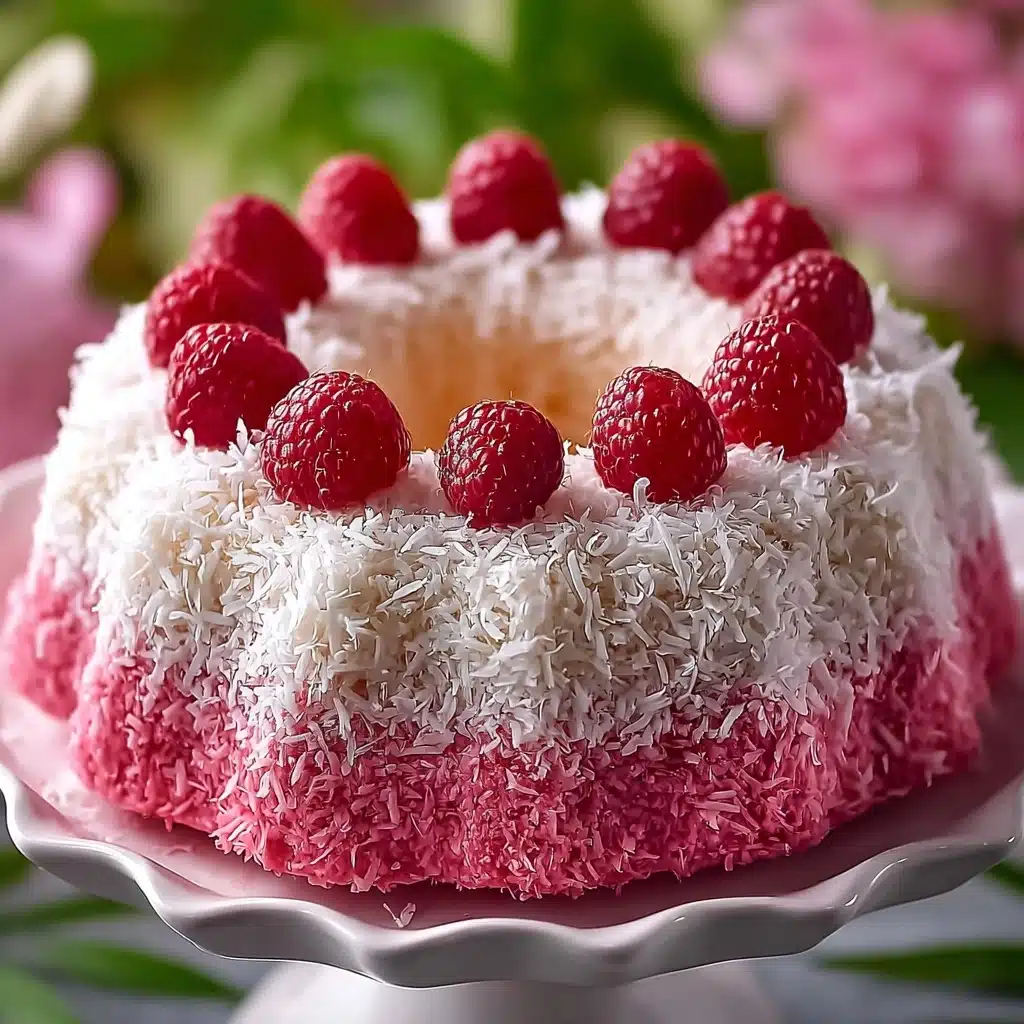
Dress your Snowball Cake for the occasion by adding a few fresh raspberries or a sprig of mint. A gentle dusting of powdered sugar will make the coconut really pop, while a few extra drizzles of raspberry preserves around the plate make each slice look like dessert at a fancy café.
Side Dishes
This cake shines next to a scoop of vanilla bean ice cream or a dollop of lightly sweetened whipped cream. Try serving with fresh berries or even a delicate fruit salad—these light sides keep the Snowball Cake as the star of your dessert table without stealing its thunder.
Creative Ways to Present
Make individual mini snowball cakes using oven-safe ramekins for a personal touch at parties, or slice and fan out pieces on a tiered stand for a wintery display. If you’re feeling artistic, try a white chocolate drizzle or scatter edible glitter for a touch of whimsy—this cake loves to play dress-up!
Make Ahead and Storage
Storing Leftovers
Keep any leftover Snowball Cake covered under a cake dome or in an airtight container at room temperature for up to two days. The coconut helps keep the cake from drying out, and the flavor only gets better overnight.
Freezing
If you want to make the Snowball Cake ahead, simply wrap the cooled, uncoated cake tightly in plastic wrap followed by foil. Freeze for up to two months. Thaw completely, then finish with coconut and powdered sugar just before serving for that fresh, snowy look.
Reheating
To bring that just-baked feel back, warm individual slices in the microwave for a few seconds. This softens the coconut and brightens the raspberry flavor, making each bite feel like it just came out of the oven.
FAQs
Can I use a regular cake pan if I don’t have a dome-shaped pan?
Absolutely! A standard 9-inch round cake pan works too—while it won’t have the classic snowball silhouette, all the flavor, coconut coating, and raspberry swirls will still steal the show.
What type of raspberry preserves should I use?
A good-quality store-bought raspberry preserve is perfect—look for one with robust berry flavor and minimal added sugar. You can even use homemade if you have some on hand!
Can I substitute a different fruit preserve?
You sure can! Try strawberry, blackberry, or even apricot preserves for a twist. The Snowball Cake is wonderfully flexible to your favorite fruity flavors.
How do I get the coconut to stick to the cake?
If the cake feels too dry, lightly brush it with water, a simple syrup, or even a bit of warmed jam before pressing on the coconut. This ensures every shred sticks for that snowy effect.
Is this cake suitable for making ahead for parties?
Definitely! The Snowball Cake holds its shape beautifully and actually tastes even more luscious the second day. Just wait to add the coconut and powdered sugar until shortly before serving for the freshest look.
Final Thoughts
I hope you’re as excited to bake (and eat) this Snowball Cake as I am to share it with you! It’s both a celebration and a conversation piece—the kind of dessert that turns simple moments into sweet memories. Give it a try, and watch everyone light up with the very first slice!
PrintSnowball Cake Recipe
Indulge in the delightful Snowball Cake, a delectable dessert featuring layers of moist cake swirled with raspberry preserves and coated in sweet shredded coconut. This heavenly treat is perfect for any occasion and is sure to impress your friends and family.
- Prep Time: 20 minutes
- Cook Time: 50 minutes
- Total Time: 1 hour 10 minutes
- Yield: 8–10 servings 1x
- Category: Dessert
- Method: Baking
- Cuisine: American
- Diet: Vegetarian
Ingredients
Cake:
- 2½ cups all-purpose flour
- 1½ teaspoons baking powder
- ½ teaspoon salt
- ¾ cup unsalted butter, room temperature
- 1½ cups granulated sugar
- 3 large eggs
- 1 tablespoon vanilla extract
- 1 cup whole milk
Filling and Coating:
- ½ cup raspberry preserves (slightly warmed)
- 2 cups sweetened shredded coconut
- Powdered sugar (optional, for dusting)
Instructions
- Preparation: Preheat oven to 350°F (175°C) and grease a 10-cup oven-safe dome pan or bowl; dust with flour.
- Mixing: In a bowl, whisk flour, baking powder, and salt. In a separate bowl, cream butter and sugar until fluffy. Beat in eggs one at a time, then vanilla.
- Combining: Alternate adding the dry ingredients and milk to the butter mixture, mixing just until combined.
- Layering: Pour half the batter into the prepared pan. Dollop raspberry preserves on top, then cover with remaining batter. Swirl gently with a knife or skewer.
- Baking: Bake 45–55 minutes, or until a toothpick comes out clean. Cool 10 minutes in the pan, then turn out onto a wire rack and cool completely.
- Finishing Touches: Brush the cake with water or syrup, if needed, and press coconut all over to coat. Dust with powdered sugar if desired. Slice and enjoy!
Notes
- You can customize the filling with your favorite fruit preserves.
- Ensure the cake is completely cooled before coating with coconut.
- Store any leftovers in an airtight container for up to 3 days.
Nutrition
- Serving Size: 1 slice
- Calories: 320
- Sugar: 22g
- Sodium: 250mg
- Fat: 15g
- Saturated Fat: 10g
- Unsaturated Fat: 4g
- Trans Fat: 0g
- Carbohydrates: 42g
- Fiber: 2g
- Protein: 4g
- Cholesterol: 75mg
Keywords: Snowball Cake, Raspberry Coconut Dessert, Cake Recipe, Coconut Cake


