Garlic Dinner Rolls Recipe
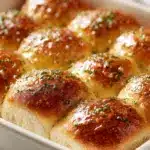
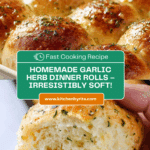
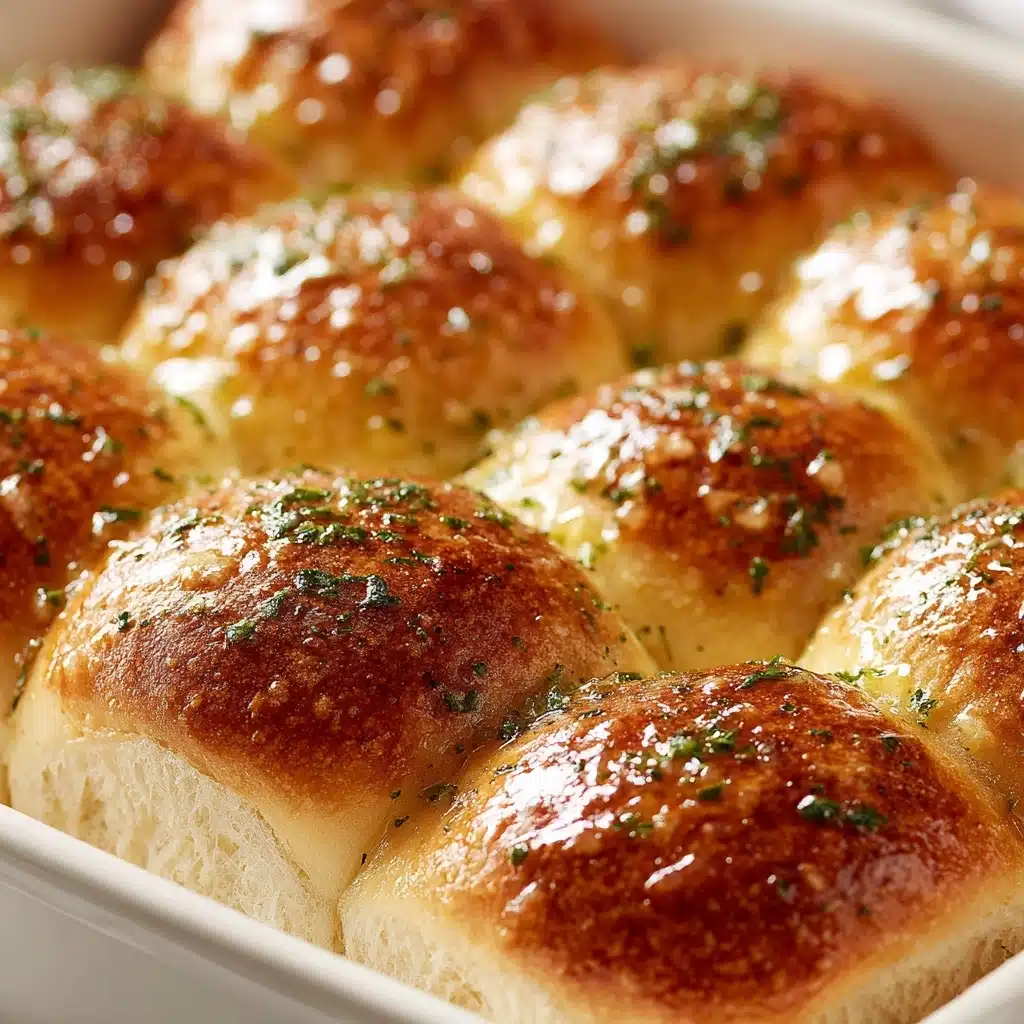
These Garlic Dinner Rolls are the ultimate crowd-pleasing bread—soft and pillowy inside, gilded with a glossy, fragrant garlic-herb butter. Each roll is a perfect blend of garlicky aroma, savory herbs, and buttery richness. Whether you’re serving them as a side for your holiday table or just making family dinner extra special, these rolls never disappoint. They’re simple enough for a beginner baker, but have the flavor and soft texture you’d expect from a fancy bakery. Once you try these Garlic Dinner Rolls, they’ll earn a permanent spot in your recipe rotation!
Ingredients You’ll Need
The beauty of these Garlic Dinner Rolls is in how simple, fresh ingredients come together for incredible results. Every item plays an important role—giving softness, a golden hue, or that irresistible garlicky aroma. Here’s what you’ll need and exactly why each one matters:
- Whole milk: Warm milk activates the yeast and helps create a tender crumb.
- Active dry yeast: This is what gives the rolls their lift and cloud-like texture.
- Granulated sugar: Adds subtle sweetness and feeds the yeast so your rolls are extra fluffy.
- Eggs: For richness, structure, and that classic soft bread interior.
- Unsalted butter: A double dose works magic—some in the dough, more brushed on top for golden, buttery perfection.
- Garlic powder: Infuses every bite with a gentle, savory garlic flavor.
- Salt: Essential for balancing flavor without overpowering.
- Bread flour: More protein than all-purpose flour, which means chewier, fluffier rolls (add just enough for a soft, slightly sticky dough).
- Fresh chopped rosemary: A little goes a long way—fresh rosemary gives herbal depth without overwhelming.
- Fresh parsley, finely chopped: Adds color and freshness; make sure it’s fully patted dry to prevent a gummy texture.
- Dried oregano: Earthy and robust, perfect for rounding out the herb medley.
- Italian seasoning: Mixed into the garlic butter, enriching the top of every roll with layered herbs.
- Fresh garlic, minced: For that punchy, irresistible real-garlic kick (never skip this in the butter!).
How to Make Garlic Dinner Rolls
Step 1: Activate the Yeast
Start things right by blooming your yeast. Pour your warm milk (about 110–115°F) into the bowl of your stand mixer. Stir in 1 teaspoon of sugar along with the active dry yeast. Let this sit for 10–15 minutes until it’s nice and frothy—proof that your yeast is fully alive. If you don’t see bubbles and foam after 15 minutes, it’s best to start over with fresh yeast to guarantee fluffy Garlic Dinner Rolls.
Step 2: Make the Dough
With the dough hook attached, mix in the remaining 2 tablespoons of sugar, eggs, melted (and cooled) butter, garlic powder, and salt right into the yeast mixture. This combination is what turns a basic bread into the irresistibly soft and flavorful base for your dinner rolls.
Step 3: Add the Flour
Add 3 cups of bread flour one cup at a time, mixing at medium-low speed. Scrape down the sides of the bowl as needed. Continue by adding more flour (in ¼ cup increments) until a soft, slightly sticky dough forms—usually about 3½ cups in total. It should be manageable and pull away from the sides of the bowl, but still moist.
Step 4: Knead and Incorporate Herbs
Once your dough has come together, knead at high speed for 3 minutes (or by hand for about 8–10 minutes) until it’s smooth and stretchy. Drop the speed to low, then add rosemary, parsley, and oregano. These herbs infuse every bite of your Garlic Dinner Rolls with garden-fresh flavor, evenly distributed in the dough.
Step 5: Finish Kneading and Test the Dough
Turn the dough onto a lightly floured surface and knead by hand for 3–4 minutes. Sprinkle more flour only if it’s too sticky to handle. Your dough is ready when it feels elastic, bounces back slowly when poked, and holds its shape. Avoid over-kneading to keep the rolls ultra-soft.
Step 6: First Rise
Form the dough into a ball and set it in a lightly oiled bowl, rolling it around to coat the surface. Cover tightly with plastic wrap and set aside somewhere warm until it doubles in size, about 1 hour. This allows the yeast to work its magic, puffing up the dough for that classic dinner roll texture.
Step 7: Shape the Rolls
Once the dough has risen, punch it down gently to let out excess air. Divide into 12 equal pieces by halving first, then cutting each half into 6. Shape them each into balls, pinching underneath with your fingers for a smooth top, and set them into a greased 9×13-inch pan.
Step 8: Second Rise
Cover the pan with plastic wrap and let your rolls rise again for 1 to 1.5 hours, until doubled. This ensures they come out tall, airy, and just the right shape. Meanwhile, preheat your oven to 350°F to be ready for baking.
Step 9: Garlic Herb Butter & Baking
Mix together the melted butter, minced garlic, and Italian seasoning. Gently brush over your beautifully risen rolls. Bake for 18–20 minutes or until golden brown and fragrant. Brush with extra melted butter once out of the oven, then let cool slightly before serving warm and shining. Get ready for rave reviews!
How to Serve Garlic Dinner Rolls
Garnishes
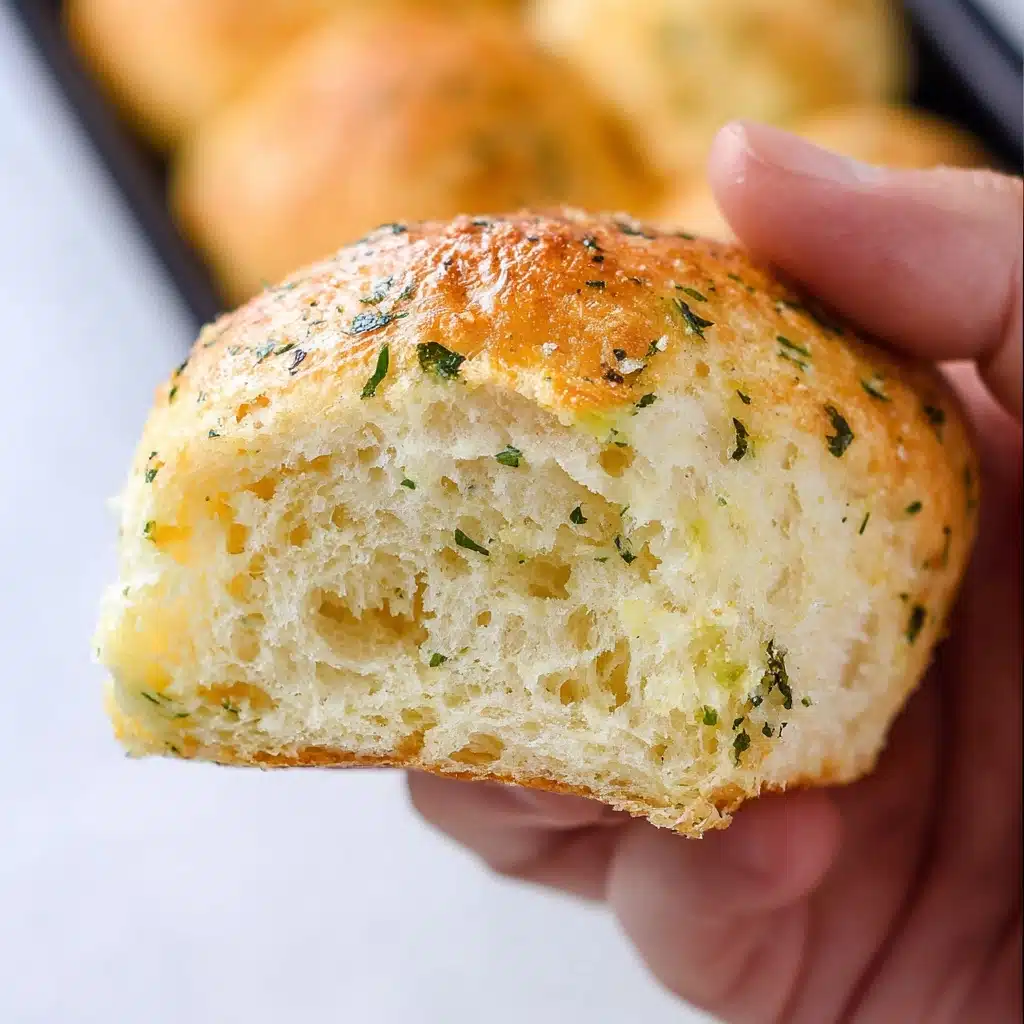
A finishing sprinkle of chopped fresh parsley or a touch more rosemary over the warm, shiny rolls really takes the presentation up a notch. If you want extra shimmer, give another light brush of melted garlic butter just before serving for an even more irresistible aroma. These little garnishes not only add a pop of green but signal just how flavorful each bite will be.
Side Dishes
Garlic Dinner Rolls are versatile enough to pair with virtually any meal, but they shine brightest alongside classic comfort foods. Serve them with pasta dishes like spaghetti and meatballs, rich soups such as tomato-basil or creamy potato, or hearty mainstays such as roast chicken or beef stew. They also make perfect sopping companions for holiday gravies or salads.
Creative Ways to Present
For something extra special, arrange the freshly baked rolls in a rustic basket lined with a cloth napkin—just like you’d see at a cozy bistro. Or, serve individual Garlic Dinner Rolls on small plates with a personal ramekin of herb-infused olive oil or extra melted butter for dipping. You can even slice them horizontally for mini sandwiches, or use leftovers as an epic base for breakfast sliders with eggs and cheese.
Make Ahead and Storage
Storing Leftovers
If you somehow manage to not eat the entire batch, store cooled Garlic Dinner Rolls in an airtight container or zip-top bag at room temperature for up to 2 days. Their soft, tender crumb holds well, but avoid refrigeration, as it can make them stale faster.
Freezing
These rolls freeze beautifully. Let them cool completely, then transfer to a freezer-safe bag or container, removing as much air as possible. They’ll keep for up to 2 months. To thaw, just leave them at room temperature for a few hours, then reheat gently before serving.
Reheating
Warm Garlic Dinner Rolls taste like they were just baked. Wrap them in foil and pop into a 300°F oven for 8-10 minutes. For a little extra flavor, brush the tops with a bit more melted butter and a sprinkle of garlic or herbs right after reheating.
FAQs
Can I use all-purpose flour instead of bread flour?
Yes, you can substitute all-purpose flour in a pinch, but bread flour is preferred for its higher protein, which yields a fluffier, chewier roll. If using all-purpose flour, your rolls may be a bit softer and less structured, but they will still be deliciously garlicky and tender.
How can I tell if the dough has risen enough?
A perfectly risen dough should double in size and feel springy yet delicate when gently pressed with a finger—the indentation should spring back slowly. If it’s too tough or won’t rise, your kitchen may be too cold or the yeast not active enough.
Is it possible to make the Garlic Dinner Rolls dough ahead of time?
Absolutely! You can mix and knead the dough, then cover tightly and let it rise overnight in the refrigerator. Just plan for a slower rise, and let it sit at room temperature for about 30 minutes before shaping and baking for best results.
Can I make these rolls vegan or dairy-free?
Yes! Substitute the milk and butter with plant-based alternatives (like almond or oat milk and vegan butter). Swap eggs for a flaxseed or chia seed “egg” to help bind the dough together. The rolls will be slightly different but still satisfy your garlic-loving cravings.
Why are my rolls dense instead of fluffy?
Dense rolls are usually a sign of under-proofed dough or too much flour. For best results, use only as much flour as needed to handle the dough, and make sure to let it rise fully during both proofing times. Always check your yeast is fresh and active before starting!
Final Thoughts
There’s just something magical about pulling apart a warm, homemade Garlic Dinner Roll and inhaling that heady aroma of butter, herbs, and roasted garlic. This recipe really is a celebration of simple, comforting flavors—straight from your oven to the table. I hope you give these Garlic Dinner Rolls a try soon, and watch them vanish in record time at your next meal!
PrintGarlic Dinner Rolls Recipe
These Garlic Dinner Rolls are soft, fluffy, and packed with savory garlic and herb flavors. Perfect for accompanying a comforting meal or enjoying as a snack, these rolls are sure to be a hit with your family and friends.
- Prep Time: 30 minutes
- Cook Time: 20 minutes
- Total Time: 2 hours
- Yield: 12 rolls 1x
- Category: Bread
- Method: Baking
- Cuisine: American
- Diet: Vegetarian
Ingredients
Dough:
- 1 cup whole milk, warmed to 110-115 degrees F
- 2 ¼ teaspoons active dry yeast (equivalent to a 0.25 ounce package)
- 2 tablespoons granulated sugar, plus 1 teaspoon
- 2 large eggs, lightly beaten
- ¼ cup unsalted butter, melted and cooled
- 1 teaspoon garlic powder
- 1 ½ teaspoons salt
- 3 ½ to 4 cups bread flour (plus more as needed)
Garlic Herb Butter:
- ¾ tablespoon fresh chopped rosemary
- 2 tablespoons fresh parsley, finely chopped (fully patted dry)
- 1 teaspoon dried oregano
- 6 tablespoons unsalted butter, melted
- ½ tablespoon Italian seasoning
- 3 cloves garlic, minced
Instructions
- Activate the yeast: Pour warm milk into the bowl of stand mixer. Stir in sugar and yeast, and let it sit until frothy.
- Make the dough: Beat in sugar, eggs, melted butter, garlic powder, and salt with the yeast mixture. Gradually add flour until dough forms.
- Add herbs: Mix in rosemary, parsley, and oregano until evenly incorporated.
- Knead: Transfer dough to a floured surface and knead until smooth.
- Let rise: Place dough in an oiled bowl, cover, and let it rise until doubled in size.
- Shape into buns: Cut and shape dough into balls, place in a baking pan, and let rise again.
- Bake: Preheat oven, brush buns with garlic herb butter, bake until golden, and brush with more butter before serving.
Notes
- Ensure yeast is frothy to indicate it’s active.
- Add flour gradually until dough is manageable.
- Create a warm environment for dough to rise effectively.
Nutrition
- Serving Size: 1 roll
- Calories: 240
- Sugar: 2g
- Sodium: 320mg
- Fat: 11g
- Saturated Fat: 6g
- Unsaturated Fat: 4g
- Trans Fat: 0g
- Carbohydrates: 30g
- Fiber: 1g
- Protein: 5g
- Cholesterol: 55mg
Keywords: Garlic dinner rolls, homemade rolls, bread recipes, garlic herb rolls

