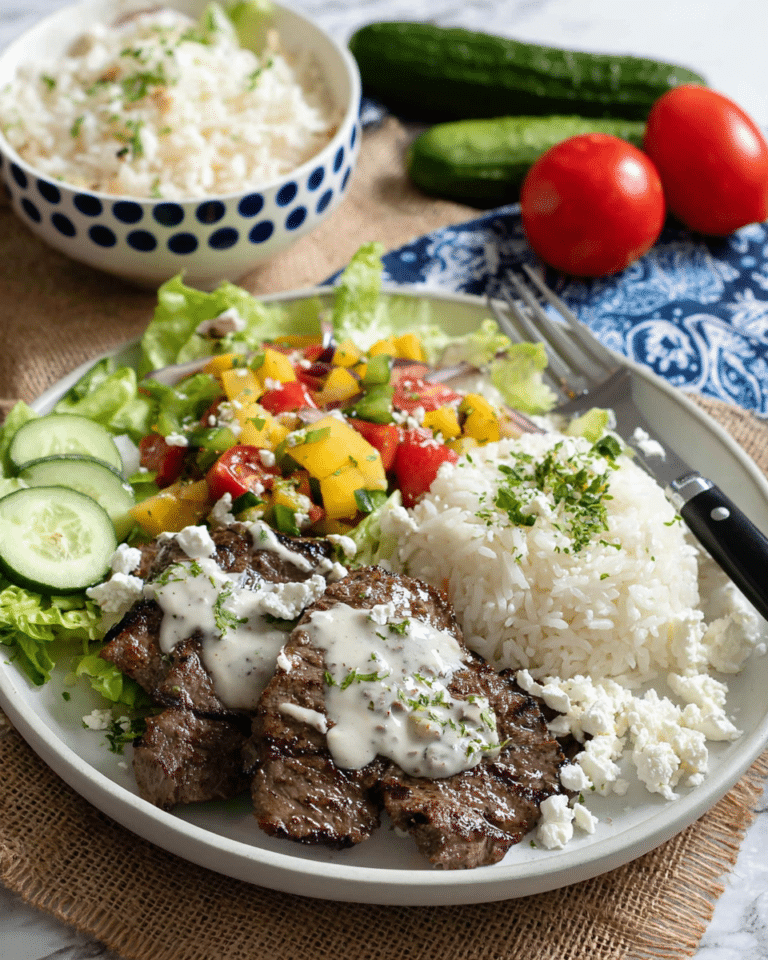
How to make Pita Bread at home Recipe
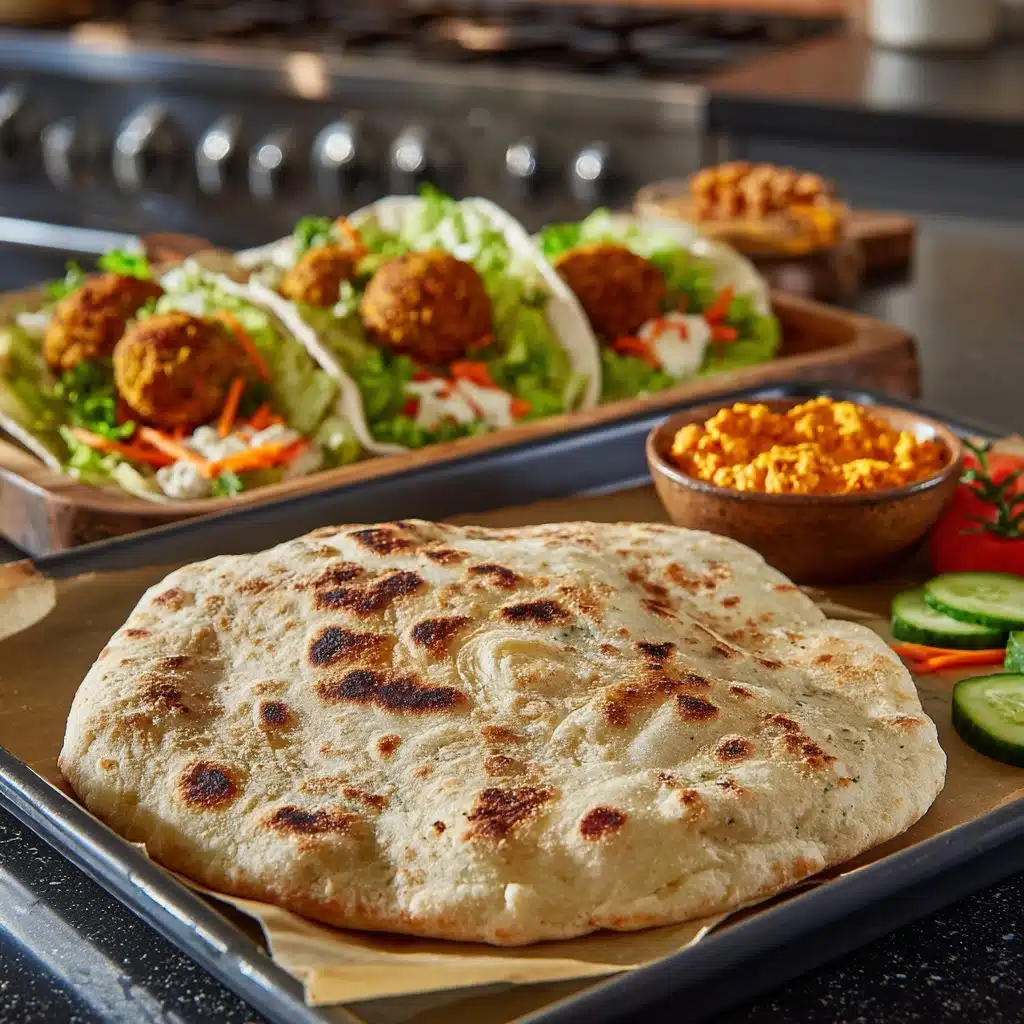
If you’ve ever experienced the joy of pulling freshly baked pita bread from your oven, you know just how magical this humble staple can be. Fluffy, warm, and the perfect pocket for all kinds of fillings, mastering how to make Pita Bread at home is a rewarding kitchen adventure that will fill your space with the irresistible aroma of baking bread. This recipe is simple, uses wholesome ingredients, and guarantees that signature puff, making it even better than your favorite store-bought version. Whether you’re stuffing them for a sandwich, scooping up dips, or just nibbling them on their own, homemade pita bread brings joy to every bite.
Ingredients You’ll Need
Before you start on your journey of how to make Pita Bread at home, take a look at how minimal yet mighty this ingredient list really is! Every component plays an important role in creating the perfect pliable, puffed-up pita.
- All-purpose flour: This provides the primary structure and soft crumb needed for tender pita pockets.
- Whole wheat flour: Adds heartiness and a slightly nutty flavor, plus an appealing color contrast to your bread.
- Sugar: Just a touch helps to feed the yeast and balance flavors for a perfectly nuanced dough.
- Salt: Essential for flavor; don’t skip it or your pitas will taste flat!
- Olive oil: Gives the dough suppleness and richness, and keeps it from drying out.
- Yeast: The leavening powerhouse that makes those beautiful puffs and airy pockets.
- Warm water: Activates the yeast and brings the dough together into a stretchy, kneadable ball.
- Extra all-purpose flour for dusting: Helps prevent sticking when kneading and rolling, ensuring easy shaping every time.
How to Make How to make Pita Bread at home
Step 1: Mix the Dry Ingredients
Start your adventure by combining the all-purpose flour, whole wheat flour, salt, and sugar in a large mixing bowl. Stir everything together until thoroughly blended. This base mix sets the stage for a dough with perfect flavor and texture, so don’t rush this step—your future pitas will thank you!
Step 2: Activate the Yeast
Dissolve the yeast in the warm water and let it sit for a couple of minutes, stirring to make sure it fully dissolves. Adding this foamy mixture to your flour mix ensures your dough will rise beautifully. This stage is crucial when learning how to make Pita Bread at home, as proper yeast activation means light, puffy results.
Step 3: Bring the Dough Together
Pour your yeast-water mixture along with the olive oil into the dry ingredients. Use a spatula or your hands to combine everything into a rough, sticky mass. It’s completely normal for the dough to be a bit messy at this stage—it will smooth out with kneading.
Step 4: Knead Until Smooth
Transfer your dough to a lightly floured work surface. With a dusting of extra flour, knead for 8 to 10 minutes until the dough becomes soft, tacky, and elastic. This step develops gluten, the network that’s responsible for those signature pita pockets. Don’t rush—think of it as a mini arm workout with a tasty reward at the end!
Step 5: First Proofing
Coat your original mixing bowl lightly with olive oil, place the dough inside, and roll it around to coat. Cover the bowl and let the dough rise for about 2 hours. You’ll notice it nearly doubles in size, which means the yeast is working its magic!
Step 6: Divide and Shape
After the first rise, gently deflate the dough and divide it into 10 equal-sized pieces. Tuck and pinch each into a smooth round, then flatten the center. Line up all your dough balls on a tray, covering them with a clean tea towel so they don’t dry out while you work through the batch.
Step 7: Roll Out the Pitas
Take the first dough ball you shaped and roll it into a thin, even circle roughly 6 inches across. Place it on a parchment-lined tray and cover it with a tea towel. Continue until all your rounds are ready. Consistency in thickness is key here for even puffing in the oven or skillet.
Step 8: Second Proofing
Let the rolled-out pita rounds rest, covered, for about 30 minutes. This second proof ensures the dough is relaxed and ready to puff up like little clouds when they hit the heat.
Step 9: Bake or Cook on Stovetop
Preheat your oven to 230 degrees Celsius with a baking stone inside. Flip the dough rounds onto the hot stone and bake for 4 to 5 minutes—watch for the signature balloon effect! Alternatively, heat a skillet on your stovetop and cook the rounds, flipping after 20 seconds, until they puff and sport light golden spots. Either method will deliver bakery-worthy results when you discover how to make Pita Bread at home.
Step 10: Keep Warm and Soft
As soon as each pita comes off the heat, wrap it in a tea towel. This keeps them tender and moist, perfect for serving while still wonderfully warm.
How to Serve How to make Pita Bread at home
Garnishes
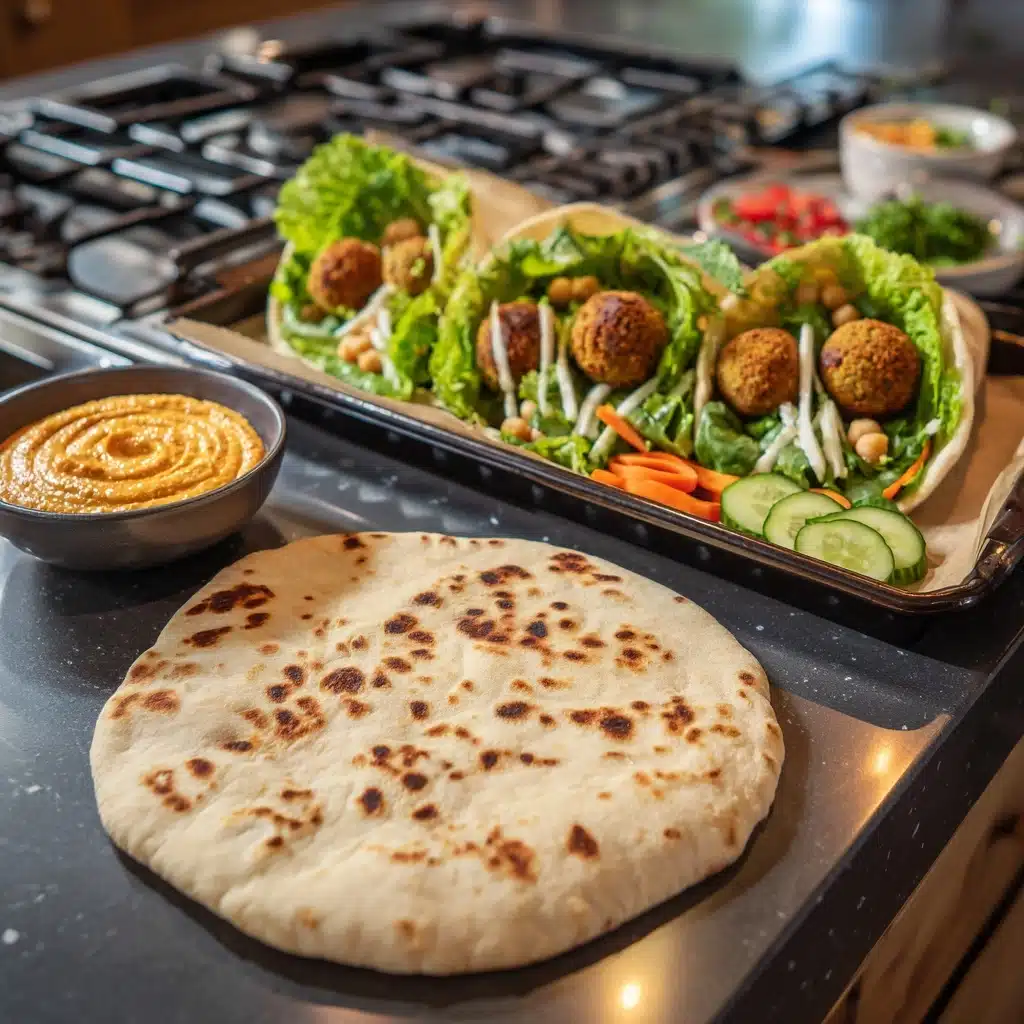
While pita bread is delightful on its own, try brushing the warm rounds with a bit more olive oil and a sprinkle of coarse salt, za’atar, or sesame seeds. Herbs like parsley or cilantro add a bright, fresh pop to your homemade batch!
Side Dishes
Pita is incredibly versatile—think plush dips like hummus, baba ganoush, or creamy tzatziki. It’s also the perfect partner to hearty stews, fresh tabbouleh, or even just alongside a crisp salad as a quick lunch. You’ll fall in love with how the flavors mingle.
Creative Ways to Present
Cut the warm pitas into triangles for dipping, stuff them with grilled veggies or spiced chicken for a pocket sandwich, or use them as a wrap base for your homemade gyros. The possibilities for enjoying the results of your “how to make Pita Bread at home” journey are nearly endless!
Make Ahead and Storage
Storing Leftovers
Let your pita bread cool completely before transferring to a resealable bag or airtight container. Stored at room temperature, they’ll stay soft and fresh for up to two days—perfect for a speedy lunch or snack the next day.
Freezing
To extend their life, freeze any extra pitas in a stack, placing parchment between each round to prevent sticking. Wrapped tightly, they’ll retain flavor and texture for up to two months, making meal prep a breeze.
Reheating
Warm your pita bread in the oven at 180 degrees Celsius for 2-3 minutes or pop them on a dry skillet until heated through. If reheating from frozen, let them thaw first for best results—they’ll taste just as pillowy as when freshly baked!
FAQs
Why didn’t my pita bread puff up?
A common culprit is uneven thickness—roll each round thinly and evenly. Also, make sure your oven or skillet is hot enough before baking; high heat is key to creating that signature pocket.
Can I use only all-purpose flour in this recipe?
Absolutely! While whole wheat flour adds flavor and nutrition, you can substitute more all-purpose flour for a slightly softer, lighter pita. It’s flexible to what you have on hand.
What’s the best way to make pita bread pockets?
The magic of how to make Pita Bread at home lie in the combination of a well-kneaded dough and a super-hot baking surface. The hot oven or skillet causes rapid steam, puffing the bread and creating the signature pocket inside each round.
Can I make the dough ahead of time?
Yes! Once kneaded, you can refrigerate the dough overnight. Let it come to room temperature before rolling and baking. This is a great way to save time if you want fresh pita with minimal fuss.
How should I store leftover pita bread?
Once cool, store in an airtight bag or container at room temperature for up to two days, or freeze for longer keeping. A quick warm-up brings back its irresistible texture and flavor.
Final Thoughts
Bringing the art of how to make Pita Bread at home into your kitchen is such a satisfying—and delicious—experience. Once you see those first rounds puff to perfection, you’ll be hooked. Give this recipe a try and watch how it transforms your meals with truly irresistible homemade pita!
PrintHow to make Pita Bread at home Recipe
Learn how to easily make delicious pita bread at home with this simple recipe. Freshly baked pita bread is a versatile and tasty addition to any meal.
- Prep Time: 20 minutes
- Cook Time: 5 minutes
- Total Time: 3 hours
- Yield: 10 pita breads 1x
- Category: Bread
- Method: Baking, Stovetop
- Cuisine: Mediterranean
- Diet: Vegetarian
Ingredients
Dough:
- 2 cups All-Purpose Flour
- 1/2 cup Whole Wheat Flour
- 1 tbsp Sugar
- 1 tsp Salt
- 1 tbsp Olive Oil
- 2 tsp Yeast
- 1 cup Warm Water
Instructions
- Combine Dry Ingredients: In a mixing bowl, combine all-purpose flour, whole wheat flour, salt, and sugar. Mix well.
- Activate Yeast: Dissolve yeast in warm water. Add olive oil to the mixing bowl, then pour in the yeast mixture. Combine into a sticky mass.
- Knead the Dough: Transfer the dough to a floured work surface. Knead for 8-10 minutes until soft and tacky.
- First Proofing: Place the dough in an oiled bowl, cover, and let it proof for 2 hours.
- Shape the Dough: Divide the dough, shape into rounds, and let proof for 30 minutes.
- Roll Out and Proof Again: Roll out each round to 6 inches, then proof for another 30 minutes.
- Bake: Preheat the oven to 230°C. Bake the pita on a stone for 4-5 minutes until puffed.
- Stovetop Method: Cook on a hot skillet until puffed and cooked through.
- Serve: Keep warm in a tea towel until ready to enjoy.
Notes
- Yeast activation is crucial for a successful rise.
- Ensure the skillet is hot for stovetop cooking.
Nutrition
- Serving Size: 1 pita bread
- Calories: 150
- Sugar: 1g
- Sodium: 200mg
- Fat: 2g
- Saturated Fat: 0.5g
- Unsaturated Fat: 1.5g
- Trans Fat: 0g
- Carbohydrates: 30g
- Fiber: 2g
- Protein: 5g
- Cholesterol: 0mg
Keywords: Pita Bread, Homemade Bread, Mediterranean Recipes


